
Calendly Tracking Guide
We do not have a direct integration with Calendly. However, you can use the following code + Zapier to track Calendly events in Woorpa
Overview
To track Calendly events, we need to add additional code to the page that contains the Calendly iframe code on your site. This code will send a webhook to Zapier that contains a Calendly inviteeUrl and eventUrl that we will use to retrieve the user's email. This is done by first catching the hook in Zapier, which contains the necessary data that we'll then use to send a GET request to Calenedly to retrieve the email and event details. We'll finally capture the GET request response and then send that data as a track event to Woopra.
Step 1: Create a Zap
In Zapier, create a new Zap with a Catch Hook
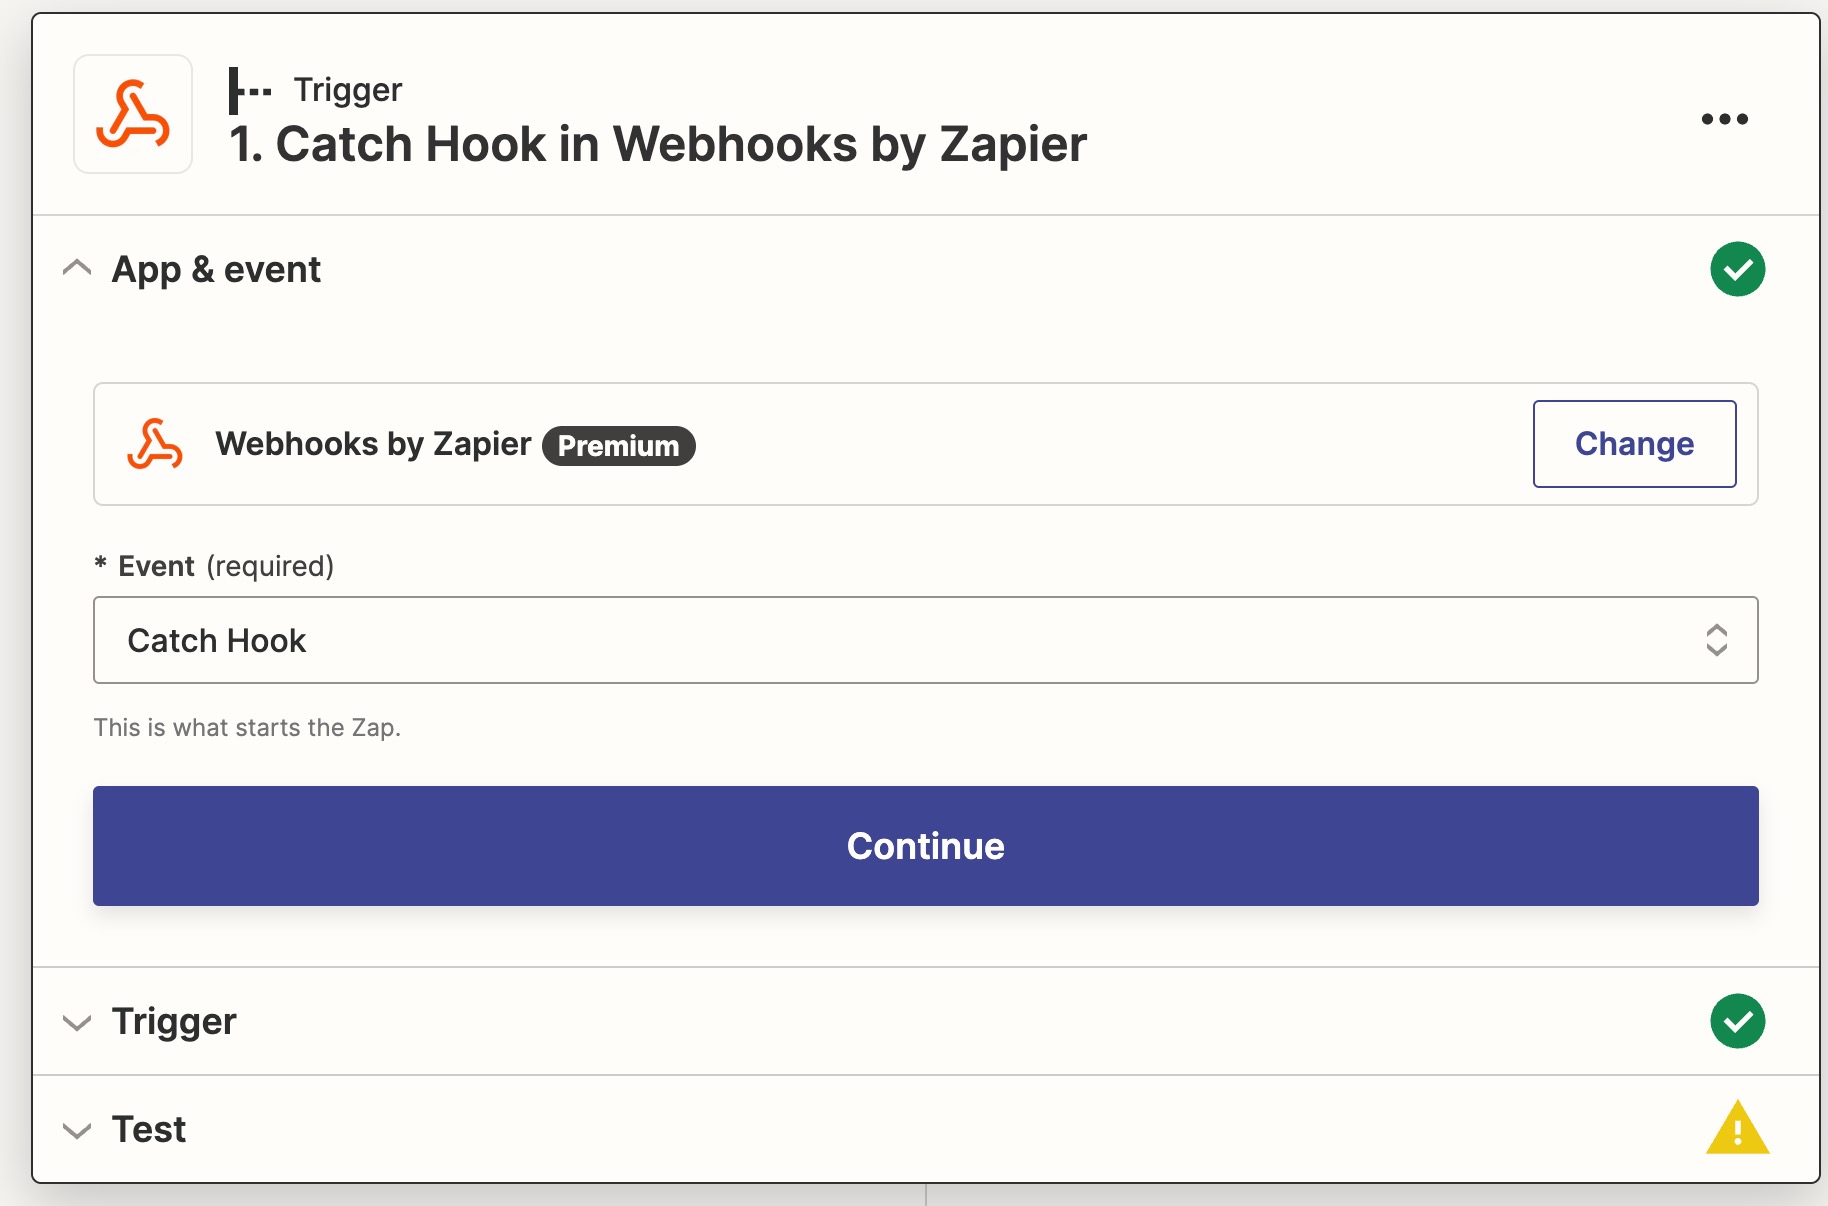
Under 'Test' will be a webhook URL. Copy this URL and paste it into the following code in step 2.
Step 2: Add the Code
The following code needs to be added to the page that contains the Calendly iframe code on your site:
function calendlyHandler(e) {
  if (e.data.event && e.data.event.indexOf('calendly') !== 0) {
    return;
  }

  switch (e.data.event) {

    /* Start Zapier Augmentation */
    case 'calendly.event_scheduled':
      fetch('Replace this with Zappier Webhook URL', {
        method: 'POST',
        body: JSON.stringify({
          cookie: window.woopra.cookie,
          eventUrl: e.data.payload.event.uri,
          inviteeUrl: e.data.payload.invitee.uri
        })
      });
    /* End Zapier Augmentation */

    default:
      woopra.track(e.data.event, e.data.payload);
      break;
  }
}

window.addEventListener('message', calendlyHandler);
Step 3: Schedule a Test Meeting
Once you have added the code on your site, schedule a test meeting so a webhook gets sent to the catch hook in Zapier. Go to Zapier and click on the 'Test' section in the Catch Hook, and select the webhook that was sent from the Calendly test. You may need to click the dropdown of the request and click 'load more' to select the most recent test:
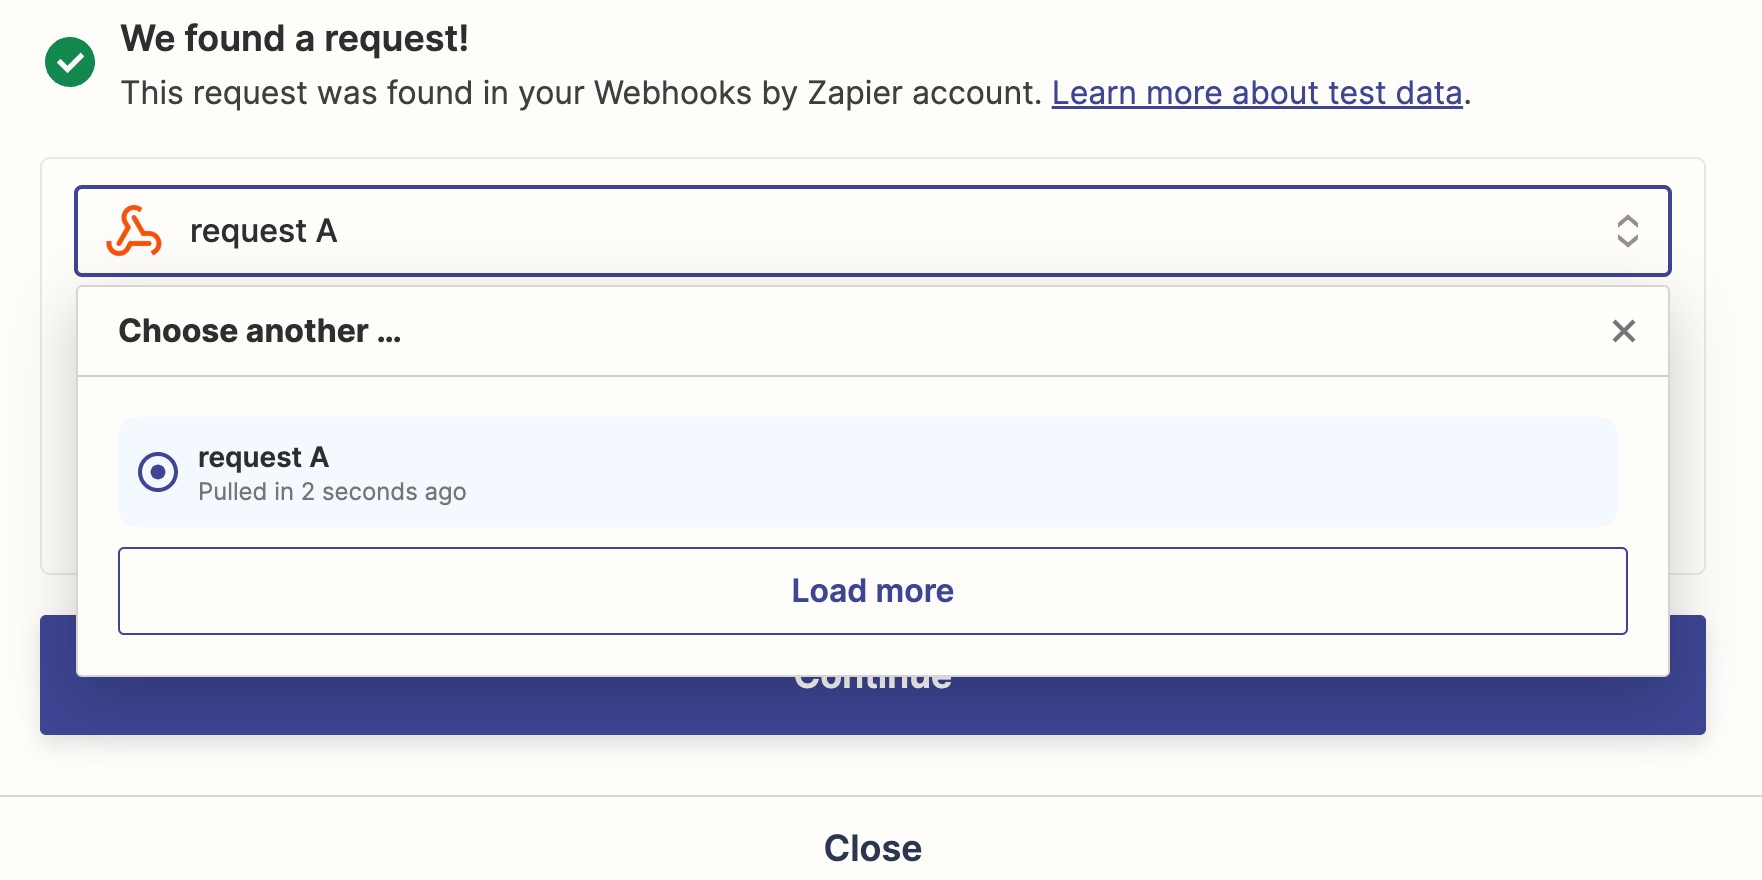
When you receive the event, you'll have the necessary data to configure the rest of the webhooks.
Step 4: Send a GET Request to Calendly
Add a Action in Zapier
Next, add a new action, 'Webhook,' and select the event as a GET request.
Under the URL field, you'll now have the Invitee URL from the previous Catch Hook that you can add. The rest of the settings should be the following:
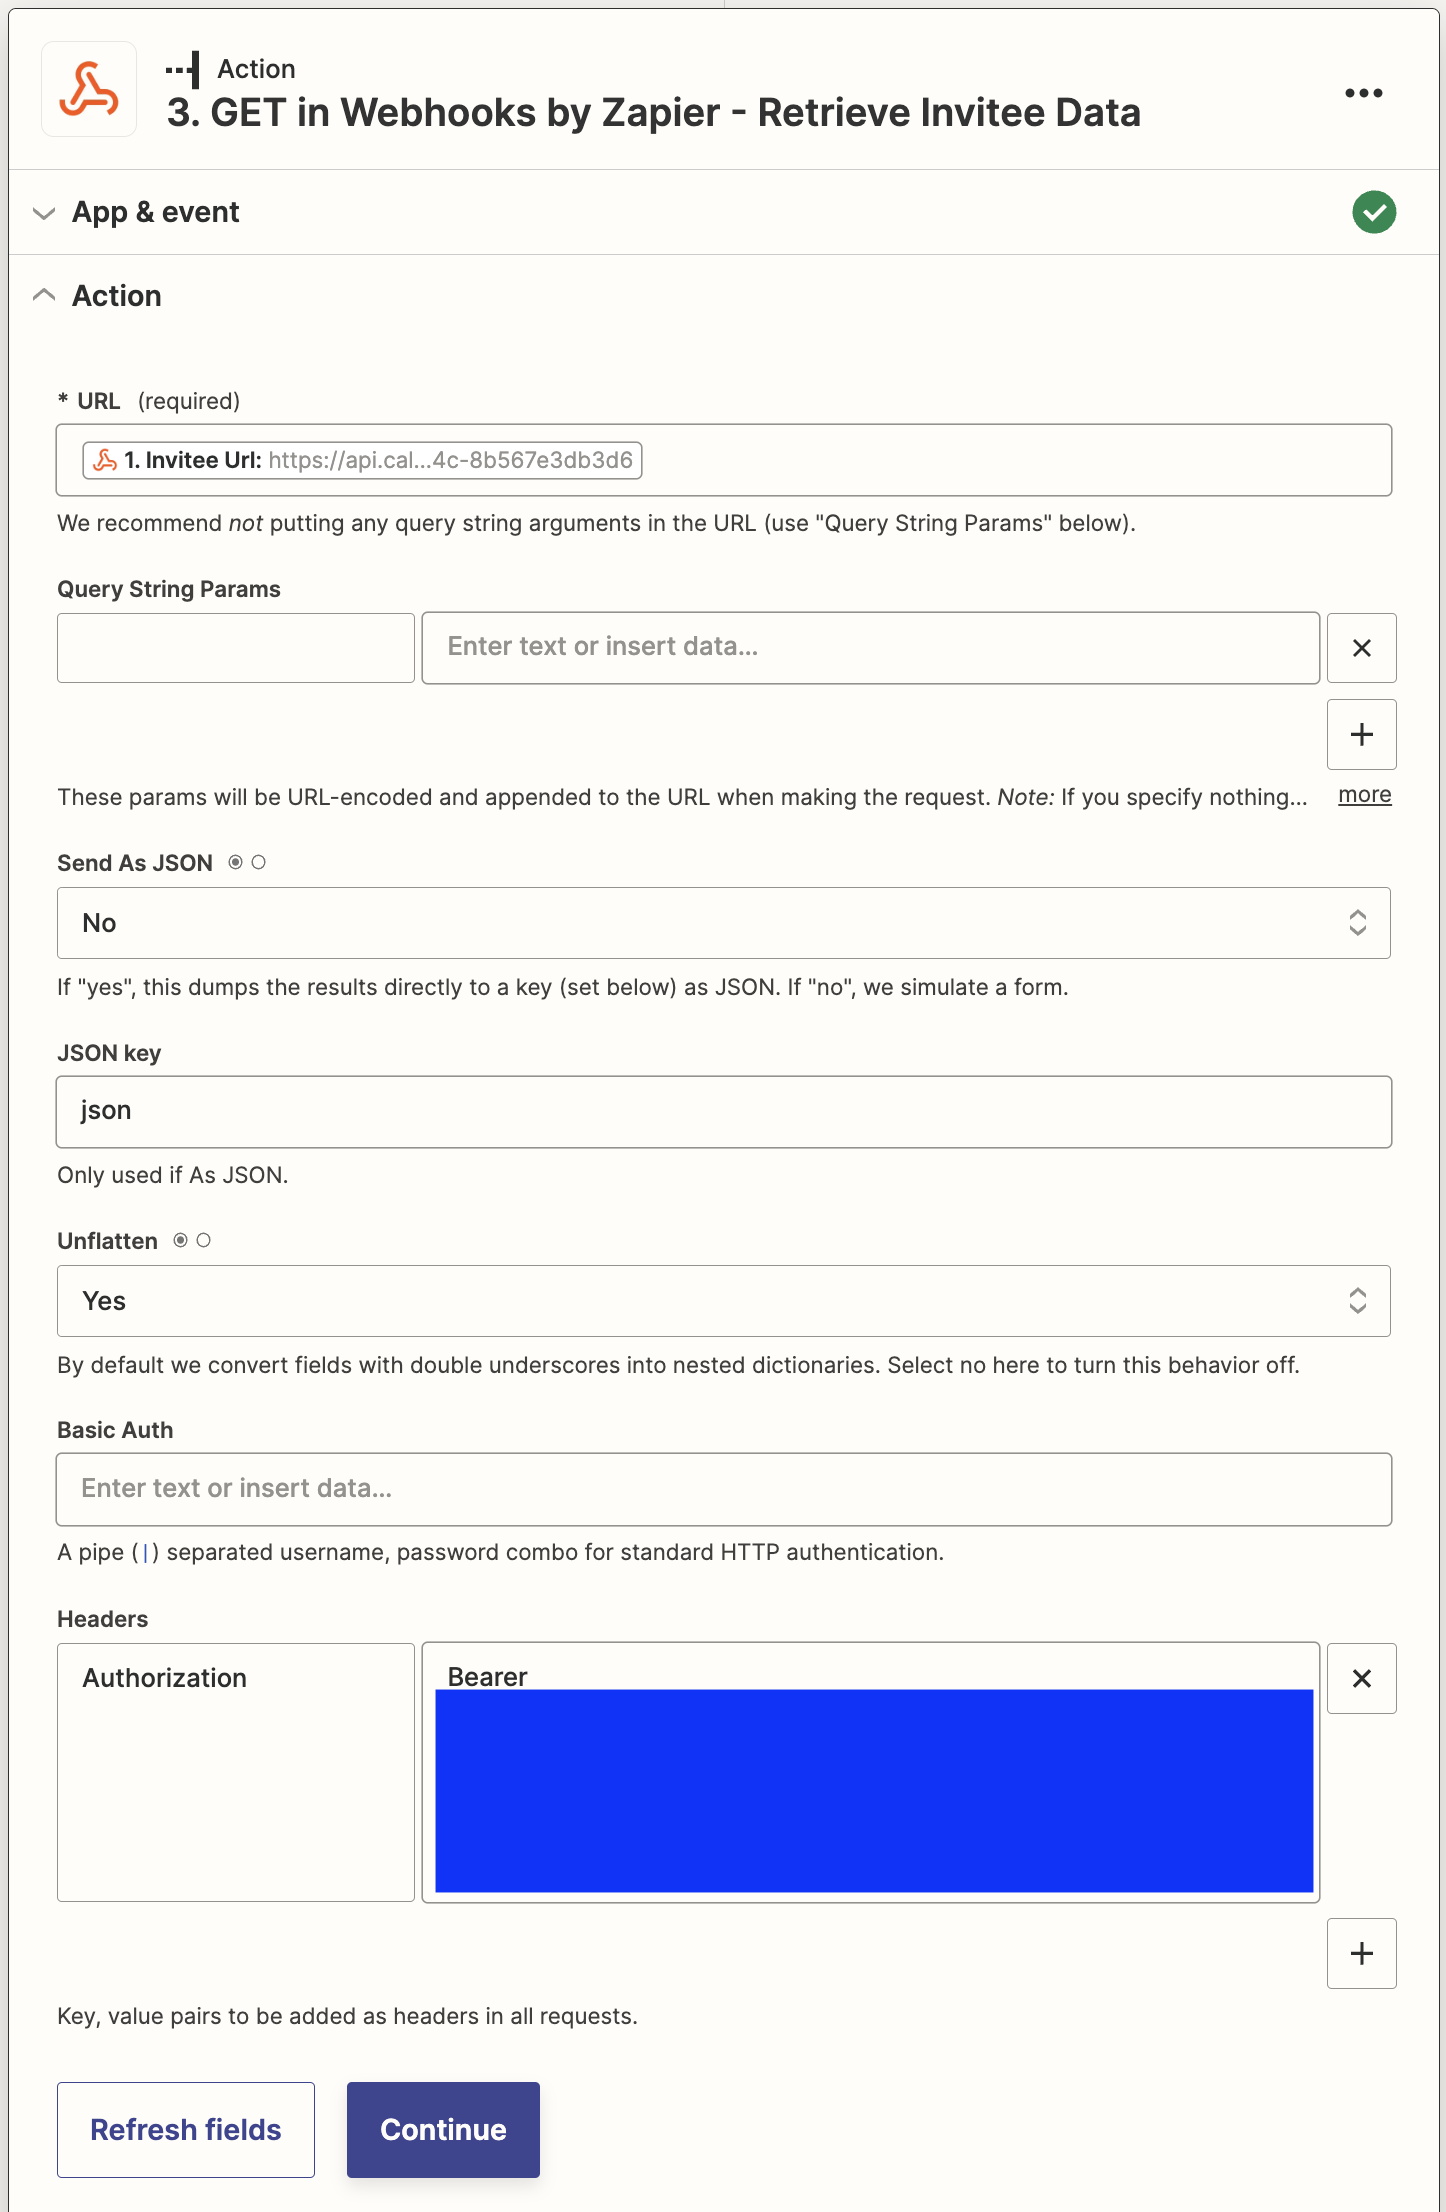
Create API Token in Calendly
Follow this link to create an API Token. Select 'Personal access token' and name it. Once you have the token, copy it and enter it under the 'Header' section, as shown above. You'll need to add the text "Authorization" in the first box and "Bearer" followed by the copied token in the second box. Click continue.
Step 5: Add Woopa Track Action
Finally, add another action and search for Woopra (latest). Select a 'Track' event and enter your project name.
Next, configure the event as follows:
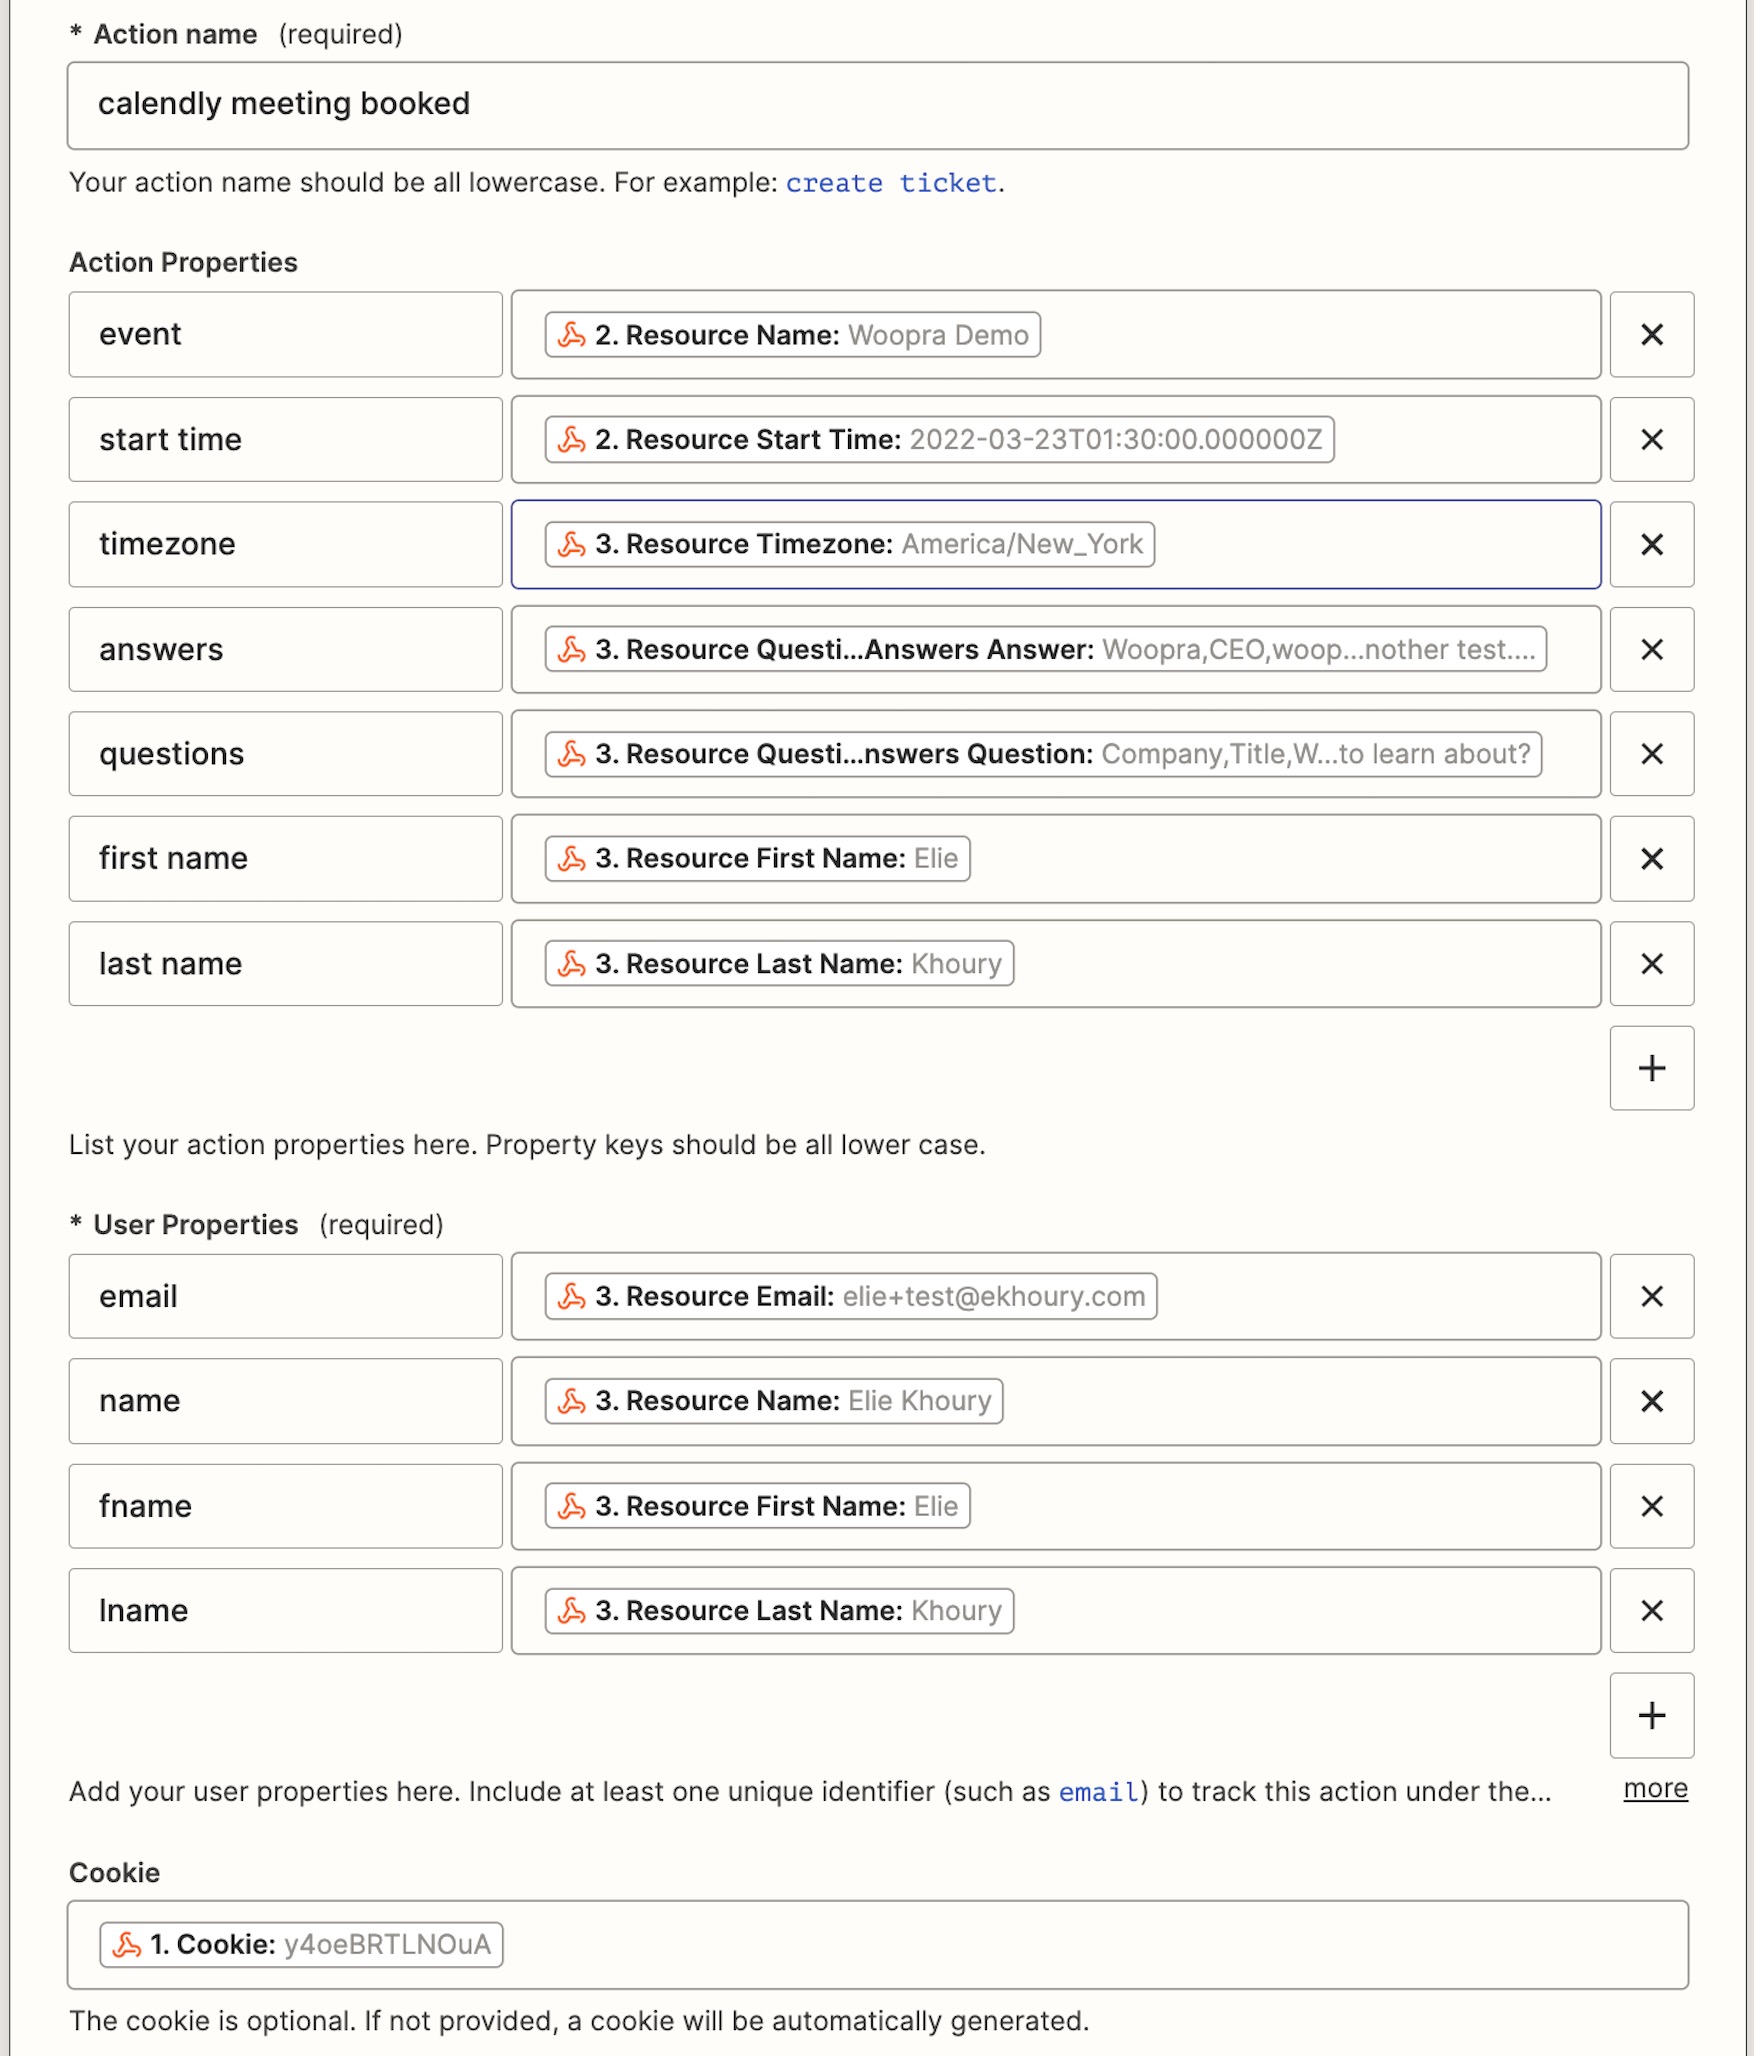
Save the Zap and you're done!
Updated 8 months ago