CSV Loader
Use your CSV files to import data directly to Woopra
Requirements
Identify Imports
- Unique Identifier such as an Email.
Track Imports
- Event data with timestamps. Each row should have a timestamp associated with the data. The data can contain events or contacts, as long as it has a date such as a created_at timestamp.
- Unique Identifier such as an Email.
Steps to Import
The import is a two-step process. You'll need to upload the CSV and then create the task.
Upload CSV File
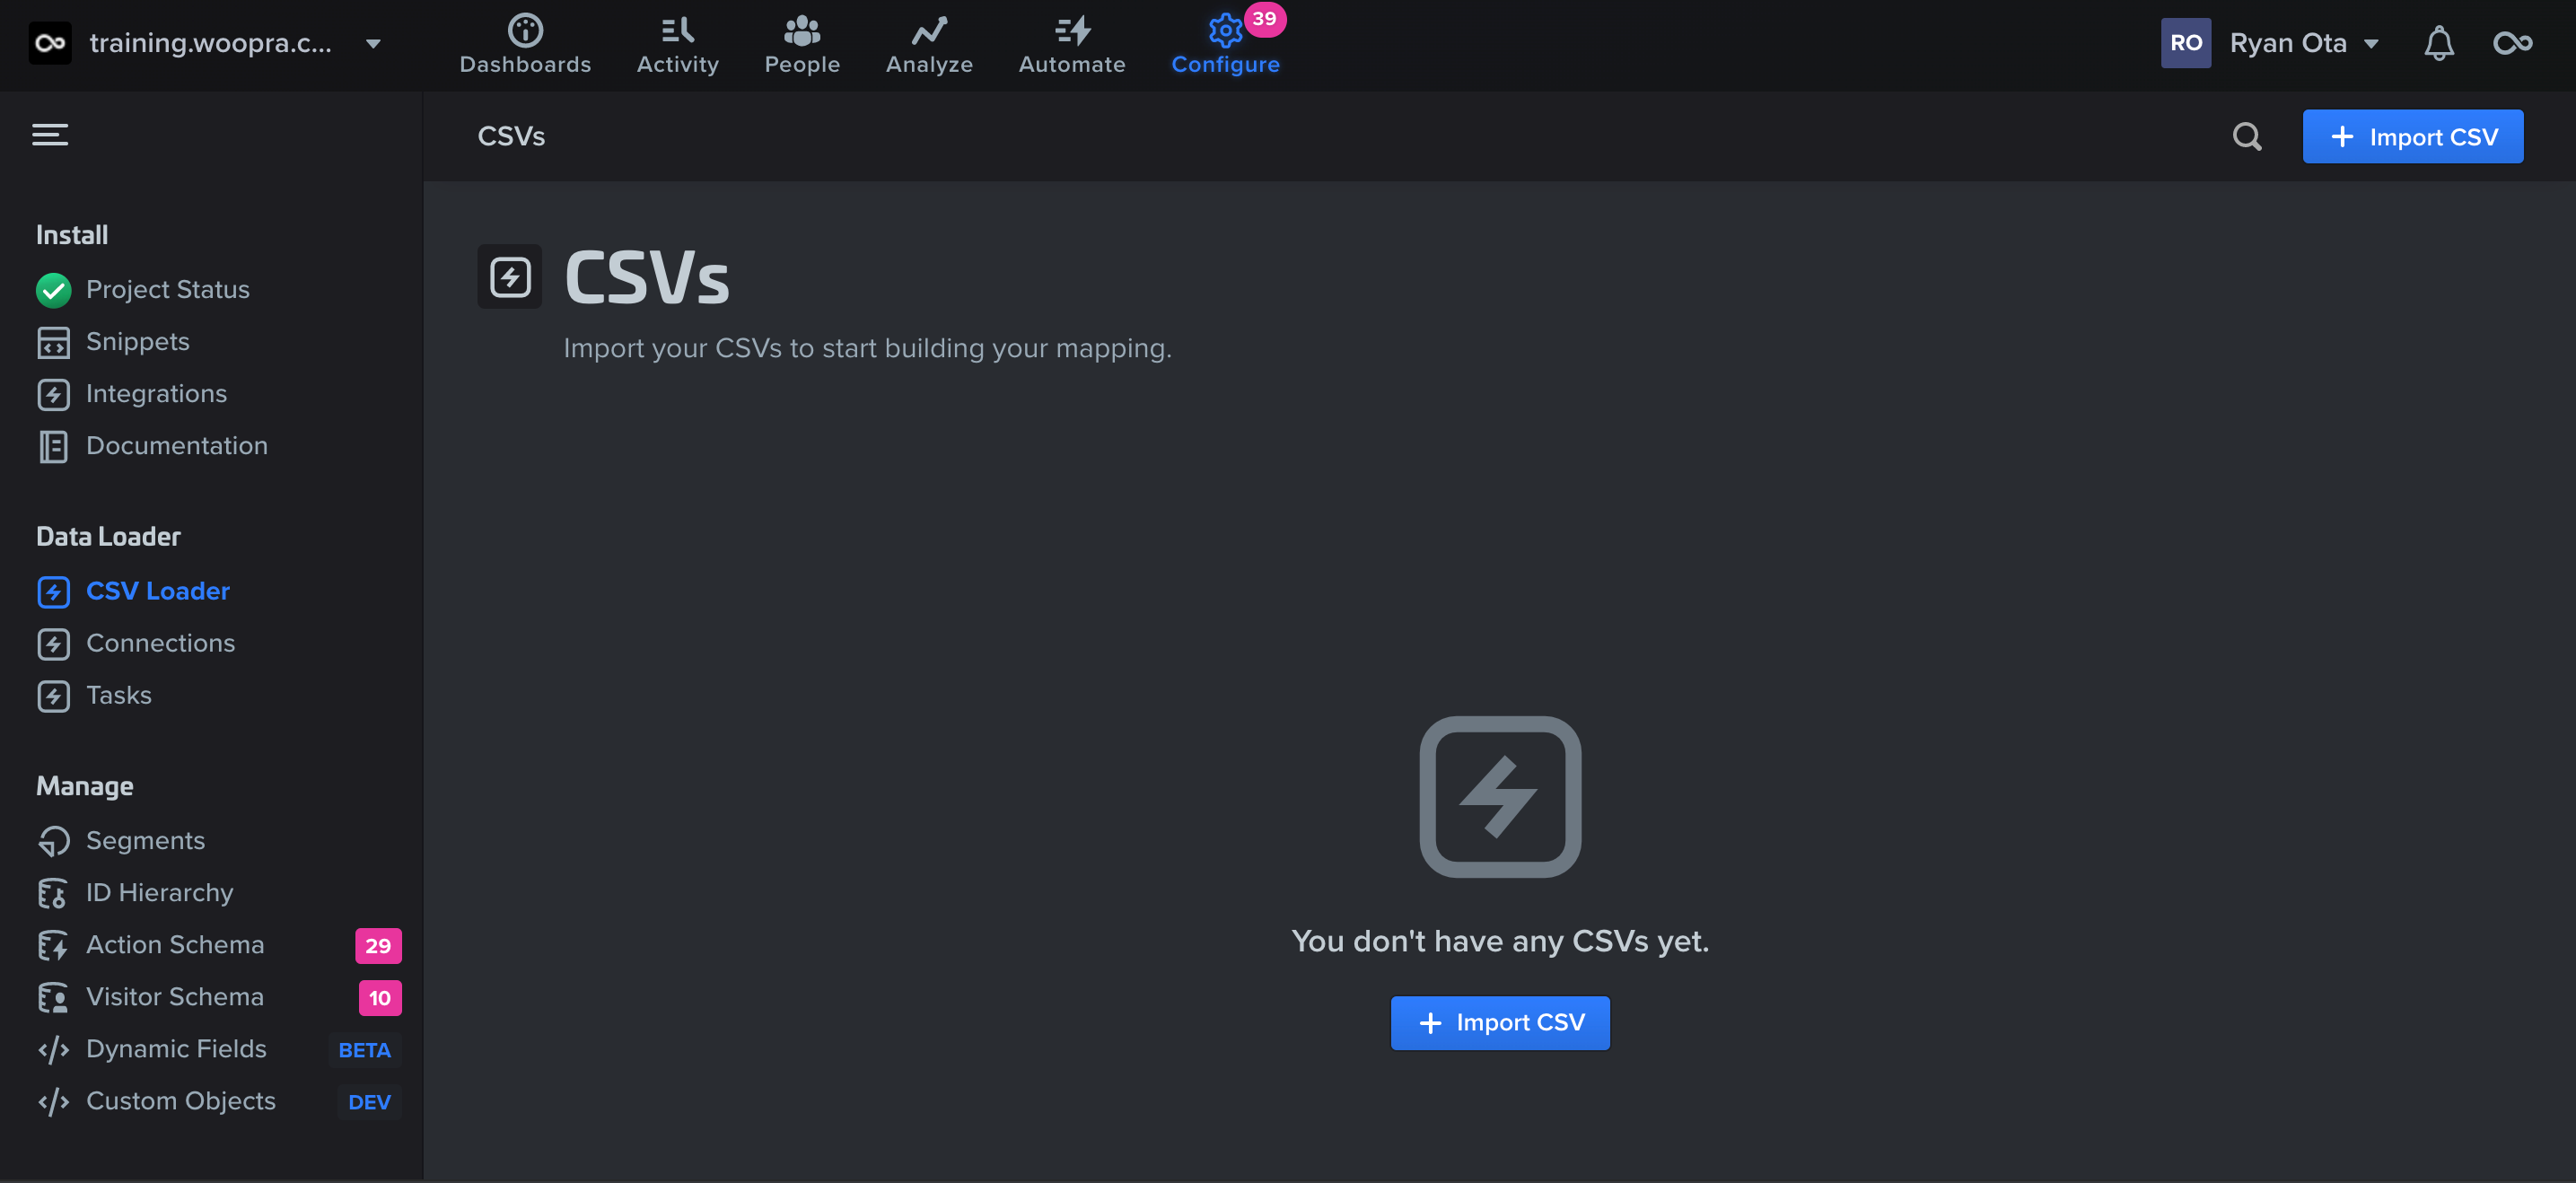
- Navigate to the Configure tab at the top then click on CSV Loader on the left side.

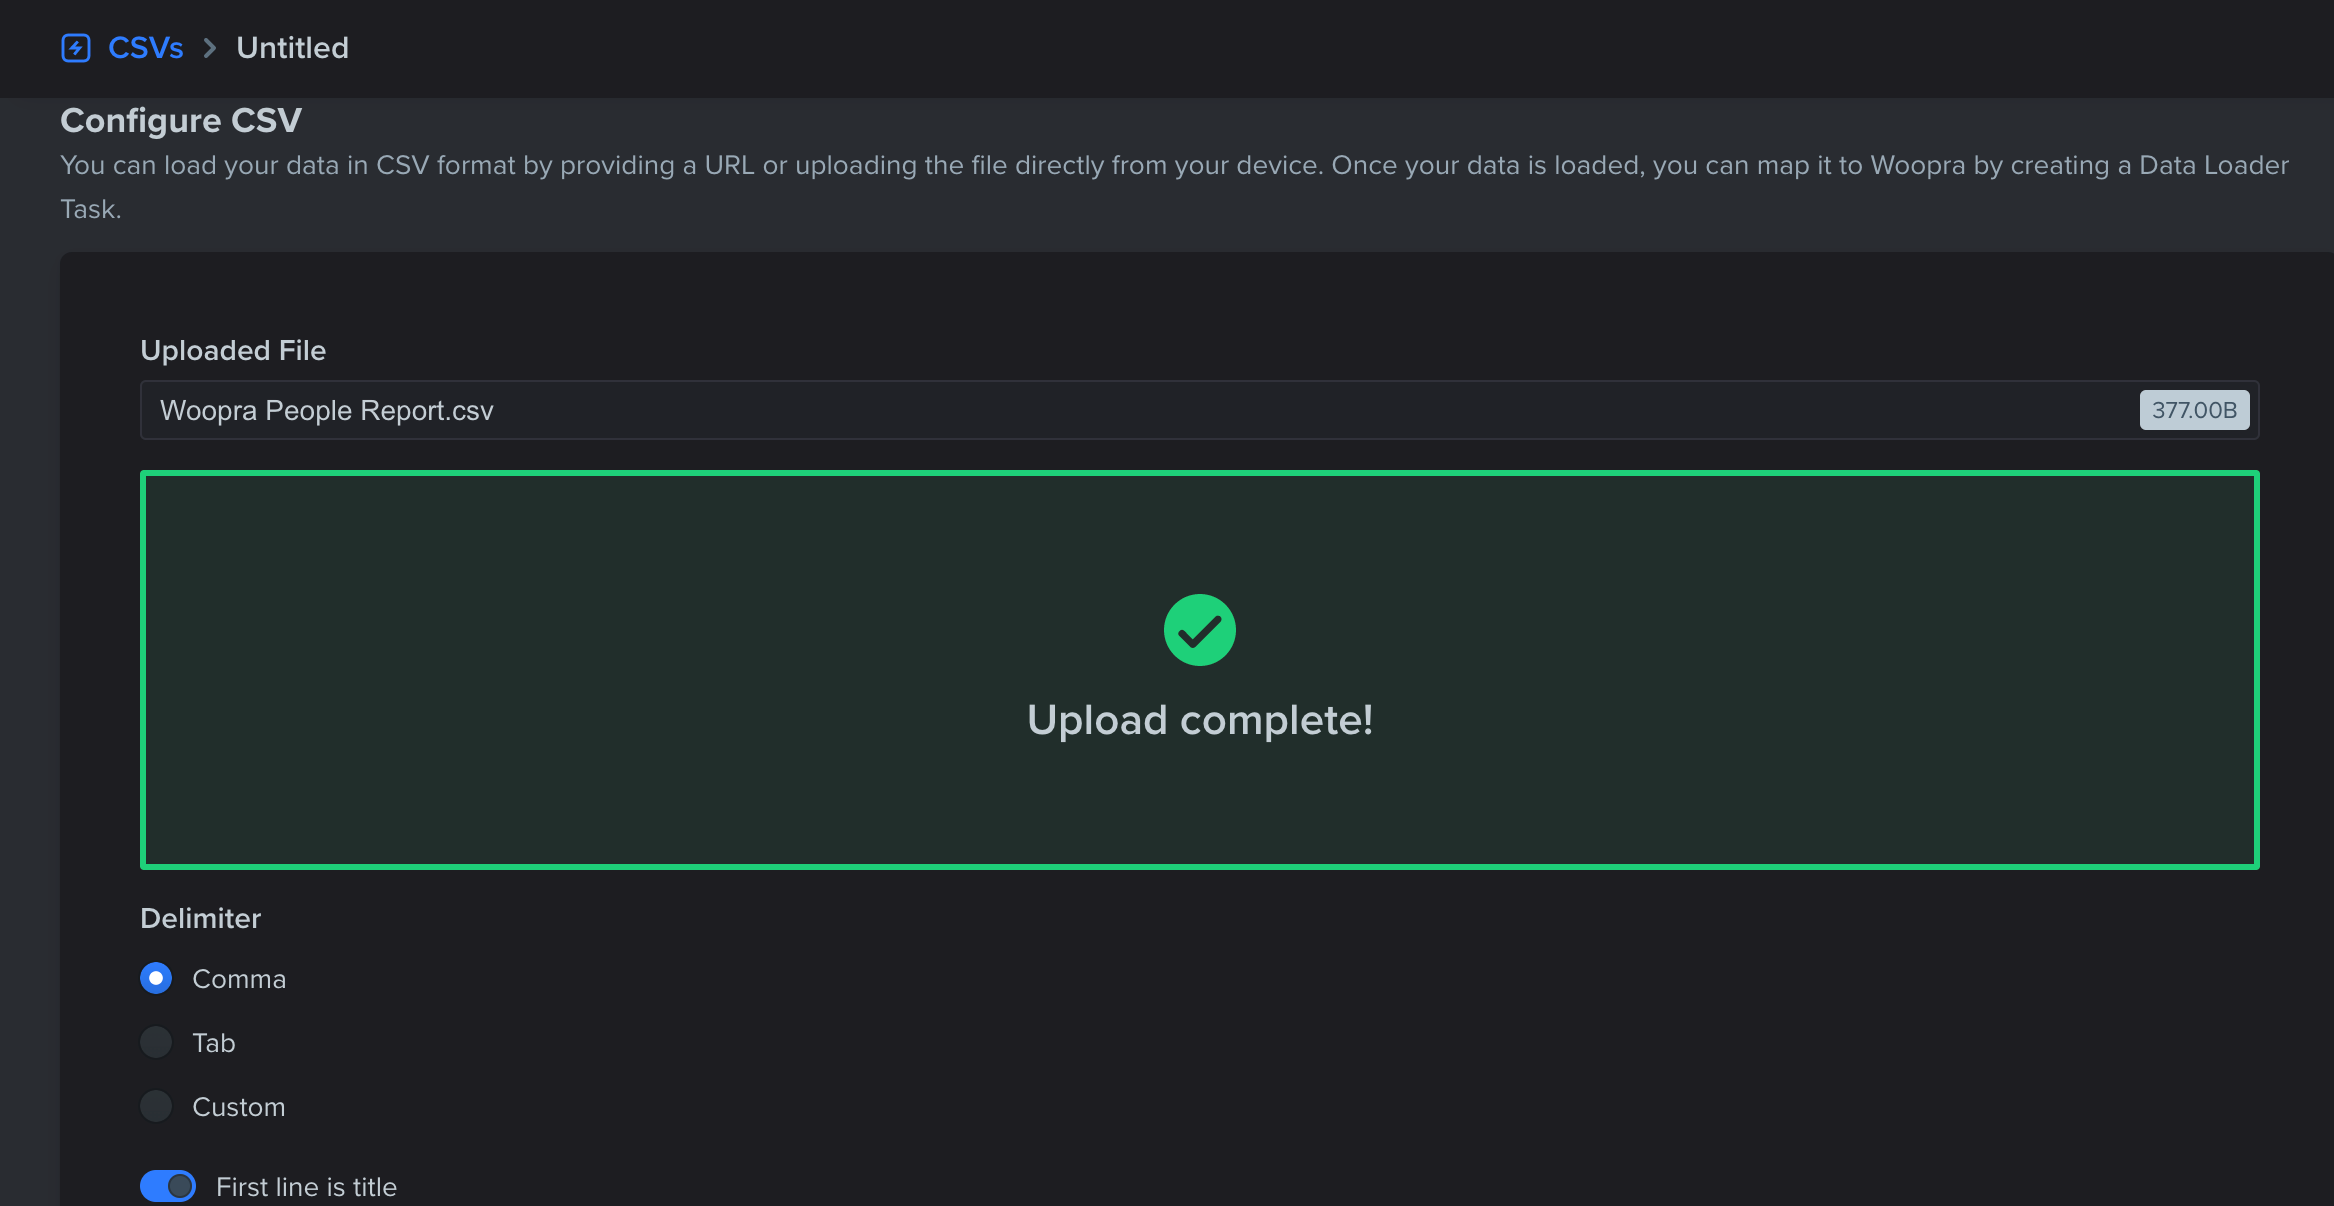
- Click to upload or drag and drop your CSV file.
- Select the configuration options. You can select between a comma, tab, or a custom delimiter. You will also want to indicate whether the first line contains title information.

- Save the connection.
Create Task
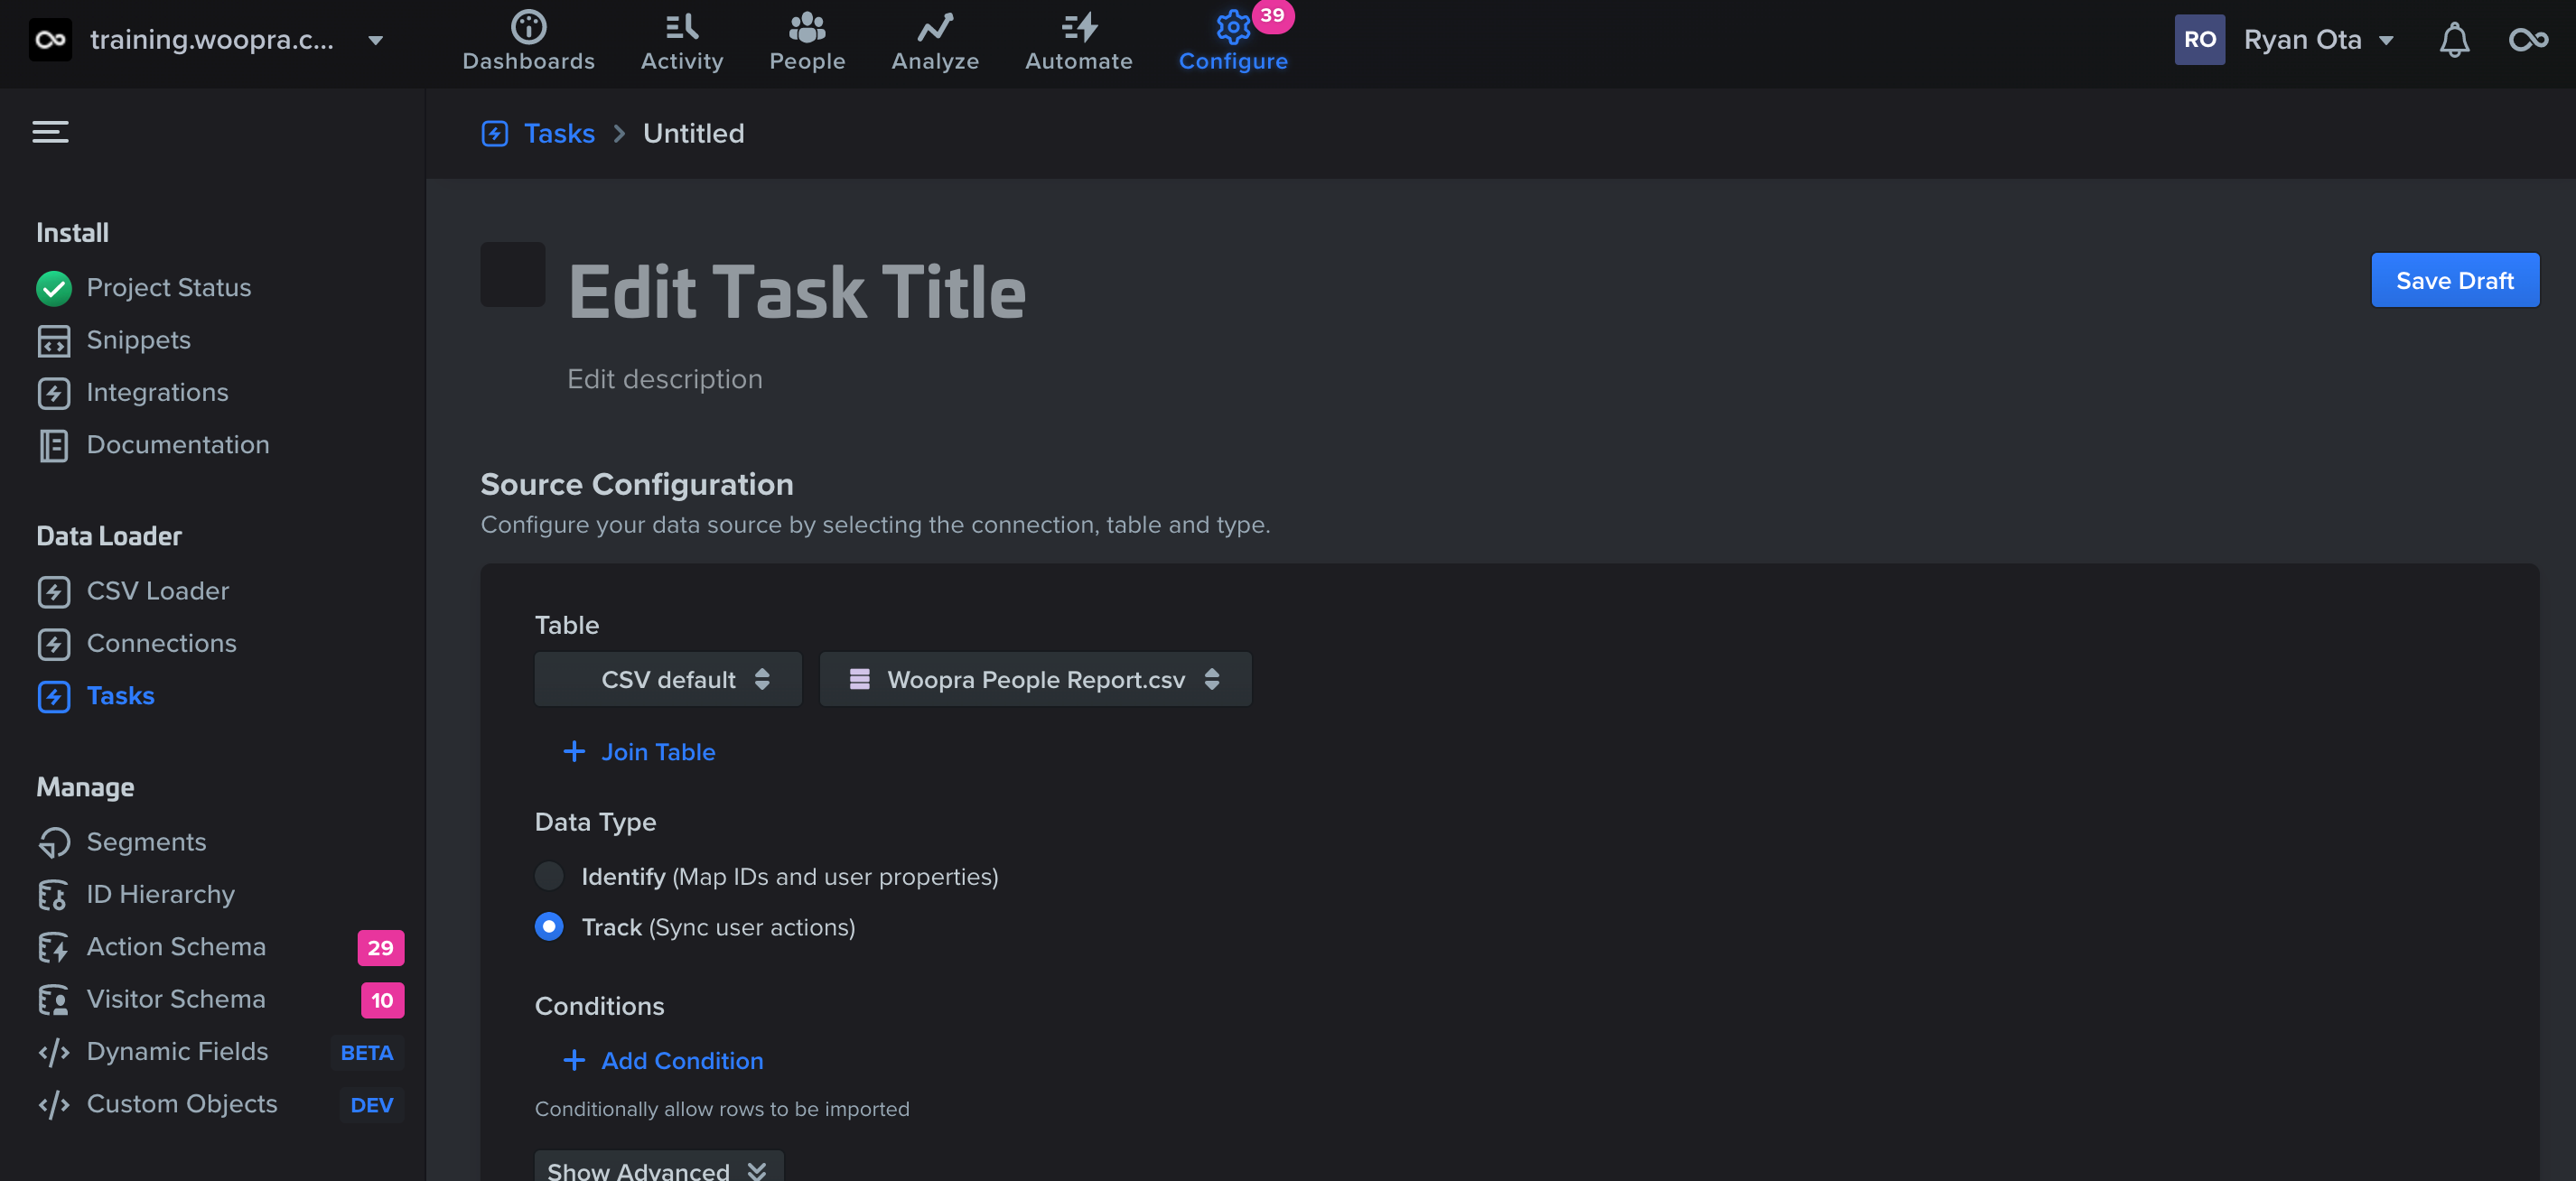
- Once the upload is complete, navigate to the Tasks section on the left side under the Data Loader.
- Select CSV as the source, and then select the CSV you have uploaded.

- Select whether the data imported is an identify or track event. Check out the source configurations for more details.
- Select the mapping which will typically be 'email' to the 'email' in Woopra. This tells Woopra how to link the data to the correct profiles.
- Add in the user properties or event properties that are associated with the event. If you are importing a track event, you will also need to name the event. For example, if you are importing a payment event, you'll want to label this event something such as 'make payment' and add the payment properties with the event such as the amount, payment method, etc.
- Select the timestamp column in your CSV.
- Save, preview, and activate. If the data looks good in the preview, you're ready to activate the task and the import will start.
Updated 3 months ago
