How to Create Segments
Woopra’s Segments allow you to bring together demographics, behaviors, and events to identify groups of customers based on a sequence of events and/or their engagement with your product.
Segments enable you to act on logical groups quickly, ask the right questions and make your product more valuable to your customers.
You can build behavioral Segments in the Configure section of Woopra that can be applied to analytics across all of Woopra’s report types, such as Trends, Journeys, and Profile Reports. You could also build custom Segments within any analytics report and save them in the report with a single click!
To better understand Segments, think of them as a way of tracking groups of people sharing the same behavioral attributes.
For example, you may want to save a Segment of customers who’ve submitted at least two support tickets and visited at least four documentation pages within the last 30 days to monitor customers who’ve sought out help. This would allow your customer success team to act faster in resolving issues. Or, you may create a Segment of customers who’ve signed up for your product after downloading a white paper to monitor their engagement and conversion and better understand the ROI of your content marketing.
How to Create a new Segment
As mentioned, there are two ways to create Segments in Woopra. You can either create a Segment in the Configure section of your account or you can create them within an analytics report.
To create a custom Segment within the Configure Section:

- Click on the “Configure” button in the navigation bar.
- Click on the “Segments” selection on the sidebar under the “Manage” section.
- Click on the “New Segment” button in the top right corner to create a new segment.
- Name your Segment, give it a description and select a color. Your selections will determine how your Segment will appear throughout Woopra.
- Define a Segment by using the Segmentation filters which can be added by clicking the “+” signs. For more information about how to use filters, please see our documentation on Segmentation Filters.
Make Visible and Track Events
- You can choose whether or not to display the Segments in People Profiles by clicking to enable.
- Select where to track segment join/leave events in the user's profiles.


To create a custom Segment within an analytics report:
- Select an analytics report you want to create a Segment for (this could be a Retention report, People report, Journey or Trends reports).
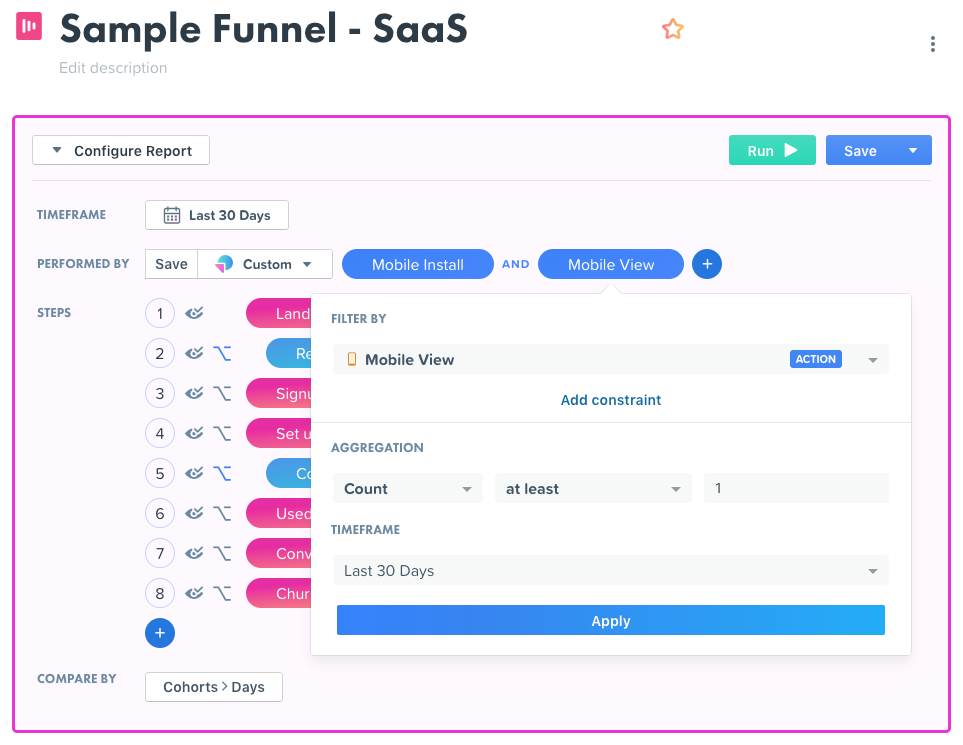
- In the “Performed By” section click on the “+” sign to create a new Segment. Please note that in the drop-down menu of the “Performed By” section you can select any segment you’ve created in Woopra before.
- Define a Segment by using the Segmentation filters. For more information about how to use filters, please see our documentation on Segmentation Filters.
- Set up the report you want to create.
- Click on the “Run” button to run your Report or the “Save” button if you want to have it saved. Note, that the Segment you’ve created within the report would attach to it so every time you access the report, the Segment will remain. You can always make changes to your Segment within the report and save your changes.
You can also create Segments within Triggers and Scheduled Batches in Woopra.
How To Leverage Segments in Woopra
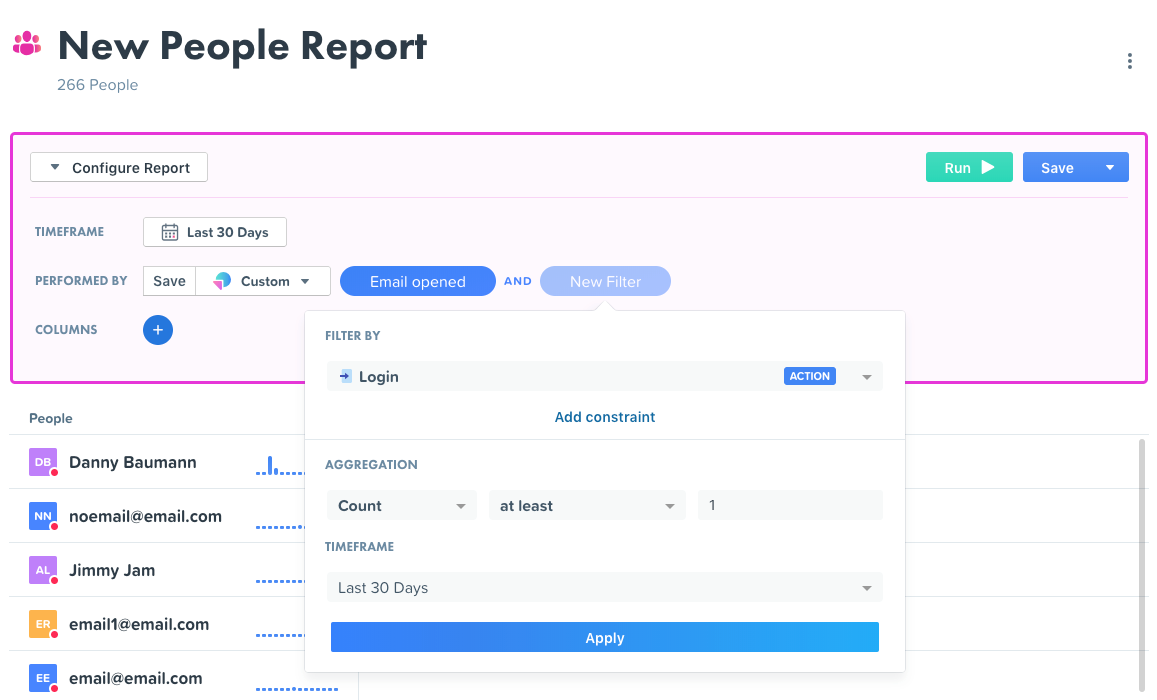
- People View Reports – You can select a segment of users you want to see in the People View Report, build a customizable table with the segment data and save or export it later on. As an example, you can create a Segment of customers who’ve submitted at least five support tickets within the last 30 days, create a table of these customers showing their first name, last name, company and email address and share this list with your customer success team so they can proactively follow up with these customers on any issues they’re having.

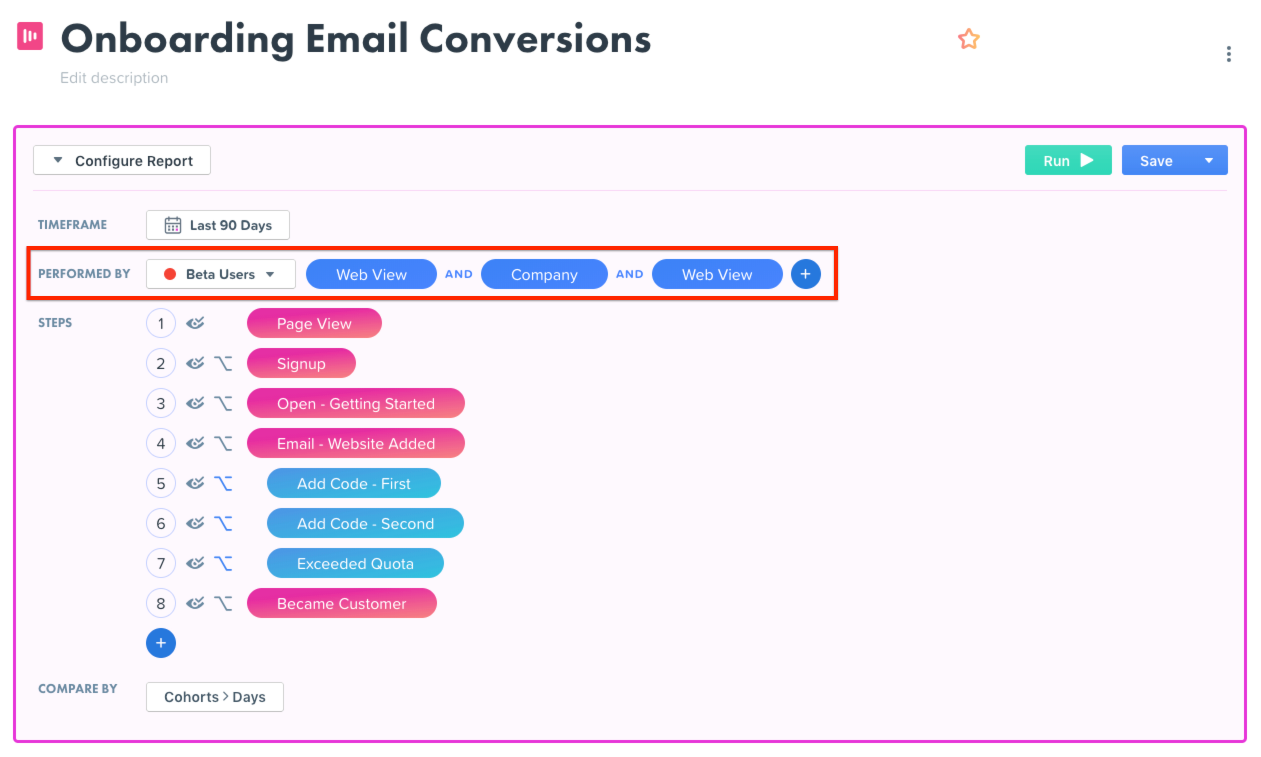
- Journeys – In Journeys, you can create specific Segments of customers and see if they complete the journey you’ve designed for them. A good example of leveraging Segments in Journeys would be setting up your onboarding funnel and analyzing if the Segment of customers who’ve clicked on your onboarding emails have a higher propensity to convert than those who haven’t. This would help you understand, for example, the impact your onboarding emails have had on conversions.

- Retention – In Retention Reports, you can build a behavioral segment of customers to see if they keep coming back to engage with your offering. For example, you can create a Segment of your Enterprise customers and see if they log in to their accounts and continue using your core product features.
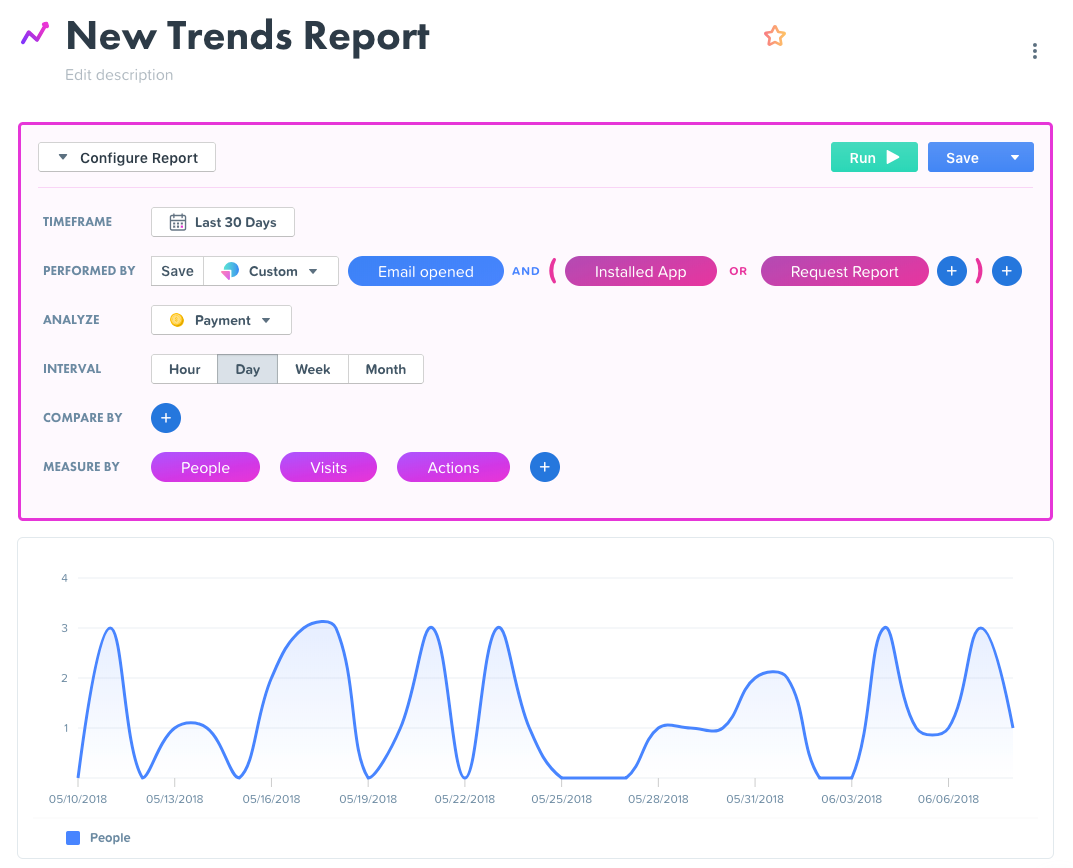
- Trends Reports – In Trends Reports, Segments can help you analyze how a particular group of people behaves over time. For instance, you can create a segment of customers who came from your Google Adwords campaign and see how they convert into paying customers over time.

- Triggers – With Triggers, you can take an event on a Segment you’ve configured in Woopra. For example, you can set up a Segment of customers who’ve recently downgraded and with the help of Woopra’s triggers, every time they log in to their accounts, you can notify your Account Executive team via Slack or Email to initiate a conversation and see what went wrong.
- Scheduled Batches – With Scheduled Batches, you can take event on your Segments on a periodic basis. For instance, you can run a Segment of customers who haven’t engaged with your newly-built product feature on a weekly basis, and target these customers with a highly-contextual automated email, leveraging one of our integrations.
Updated 3 months ago
