Zapier
You can use our Woopra Zapier connection to send events to Woopra from other applications.
You can find our Woopra connector here
Zapier IssuesWhile Zapier is good to send some events to Woopra, there are some pitfalls to be aware of. Unless the user is identified on your site first, before the Zapier event is sent, there may be issues linking anonymous profiles with the data you are sending from Zapier. We will merge profiles based on a heirarchy of IDs. The issue is that without one of the IDs to merge on, this can cause split profiles. As long as you set one of these ID's using the identity function on your site, you could then set that ID to send with the Zapier event so Woopra will know which profile to put the event on.
For example, if a user comes to your site and is required to register on your site with an email, you would first have them register and send their email address from your site directly to Woopra using the woopra.identify function. Then, let's say you are using some 3rd party app on your site where they can request demos. Let's assume that you have connected this app to Zapier and you then want to send Zaps to Woopra. When you send this Zap to Woopra, you would send their email with the demo request info. Since it is being sent with their email, Woopra will know to automatically merge these profiles (previous browsing history profile and the new demo request profile) because they share the same email. This way you will have all the previous browsing history along with the demo request data you sent from Zapier all in the same profile.
Taking the same example, if the user does not enter their email (or some other unique identifier) on your site first, they will have an anonymous profile in Woopra. Then, when you send the registration event through Zapier with an email, Woopra will not know which profile to attach this to. It will create a new profile. To remedy this, you would need to identify the user first on your site, then send the registration info.
Usage
1. Add an initial trigger such as Catch Hook. You will need to configure this to your specs.

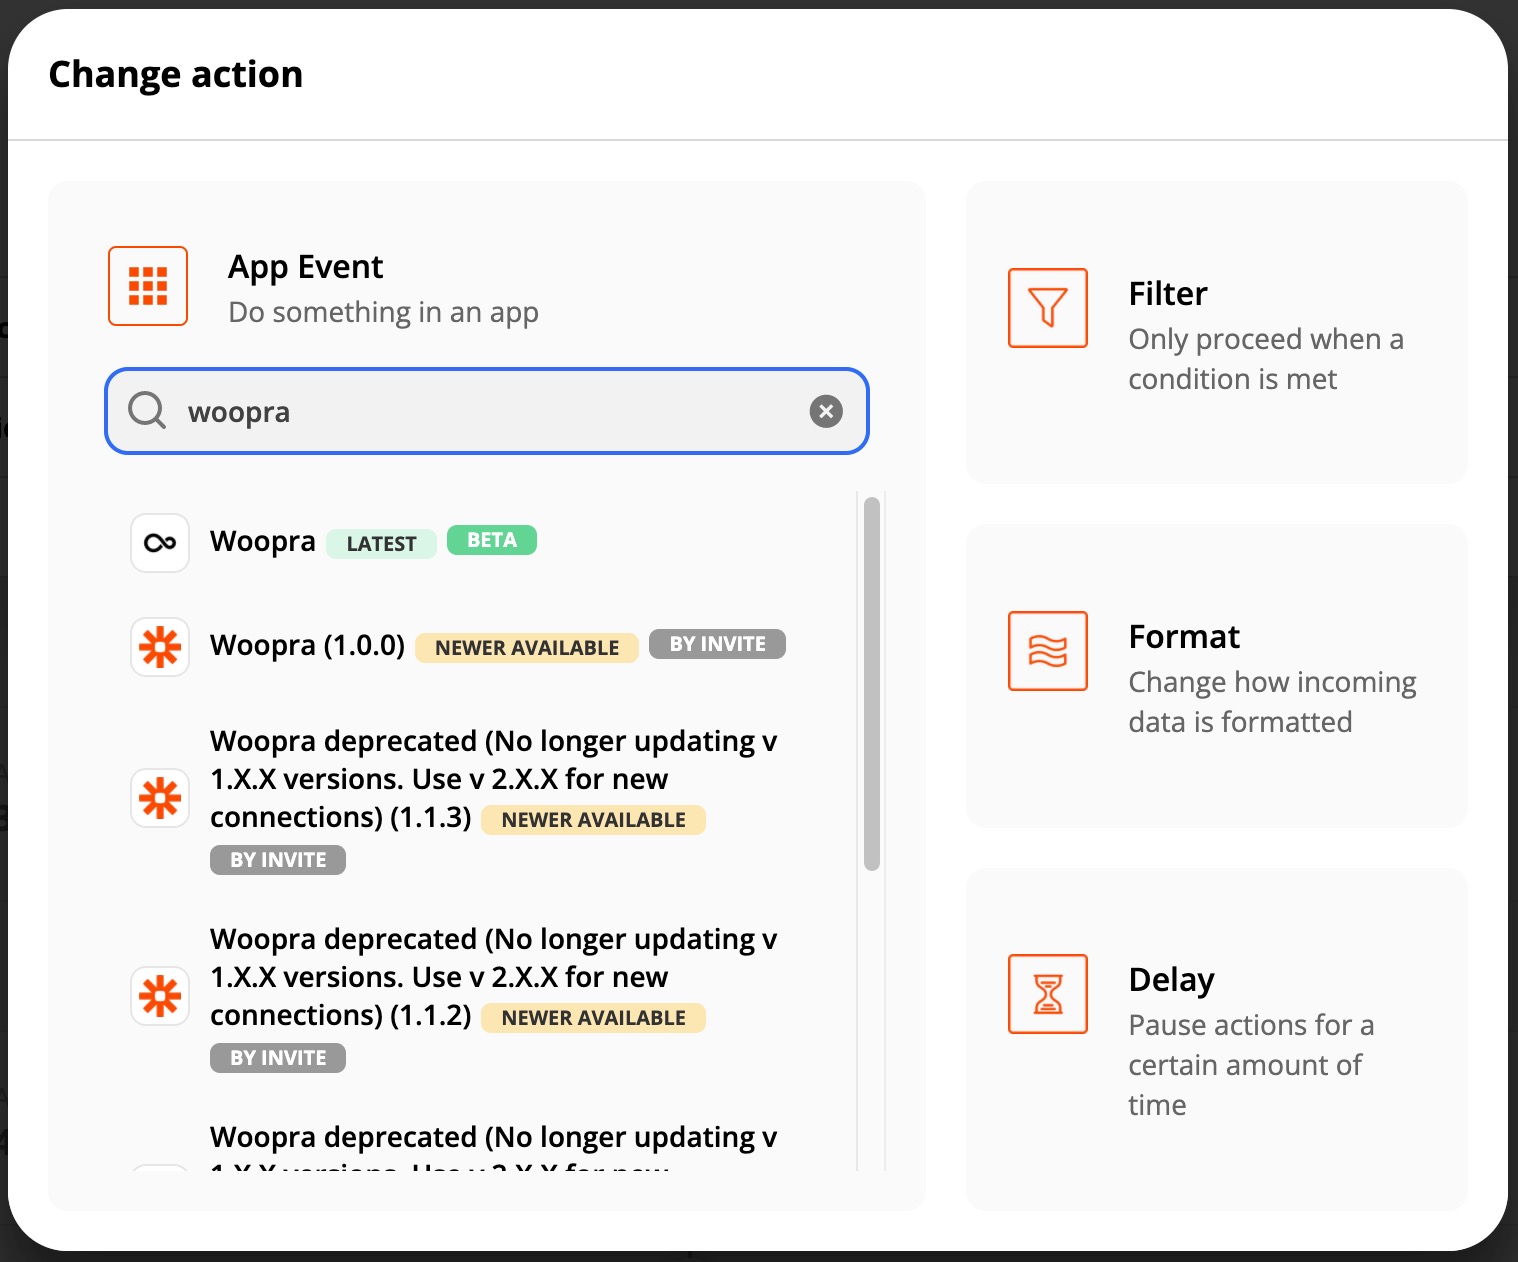
2. Add an event and search for the Woopra Connector. Use the latest version.

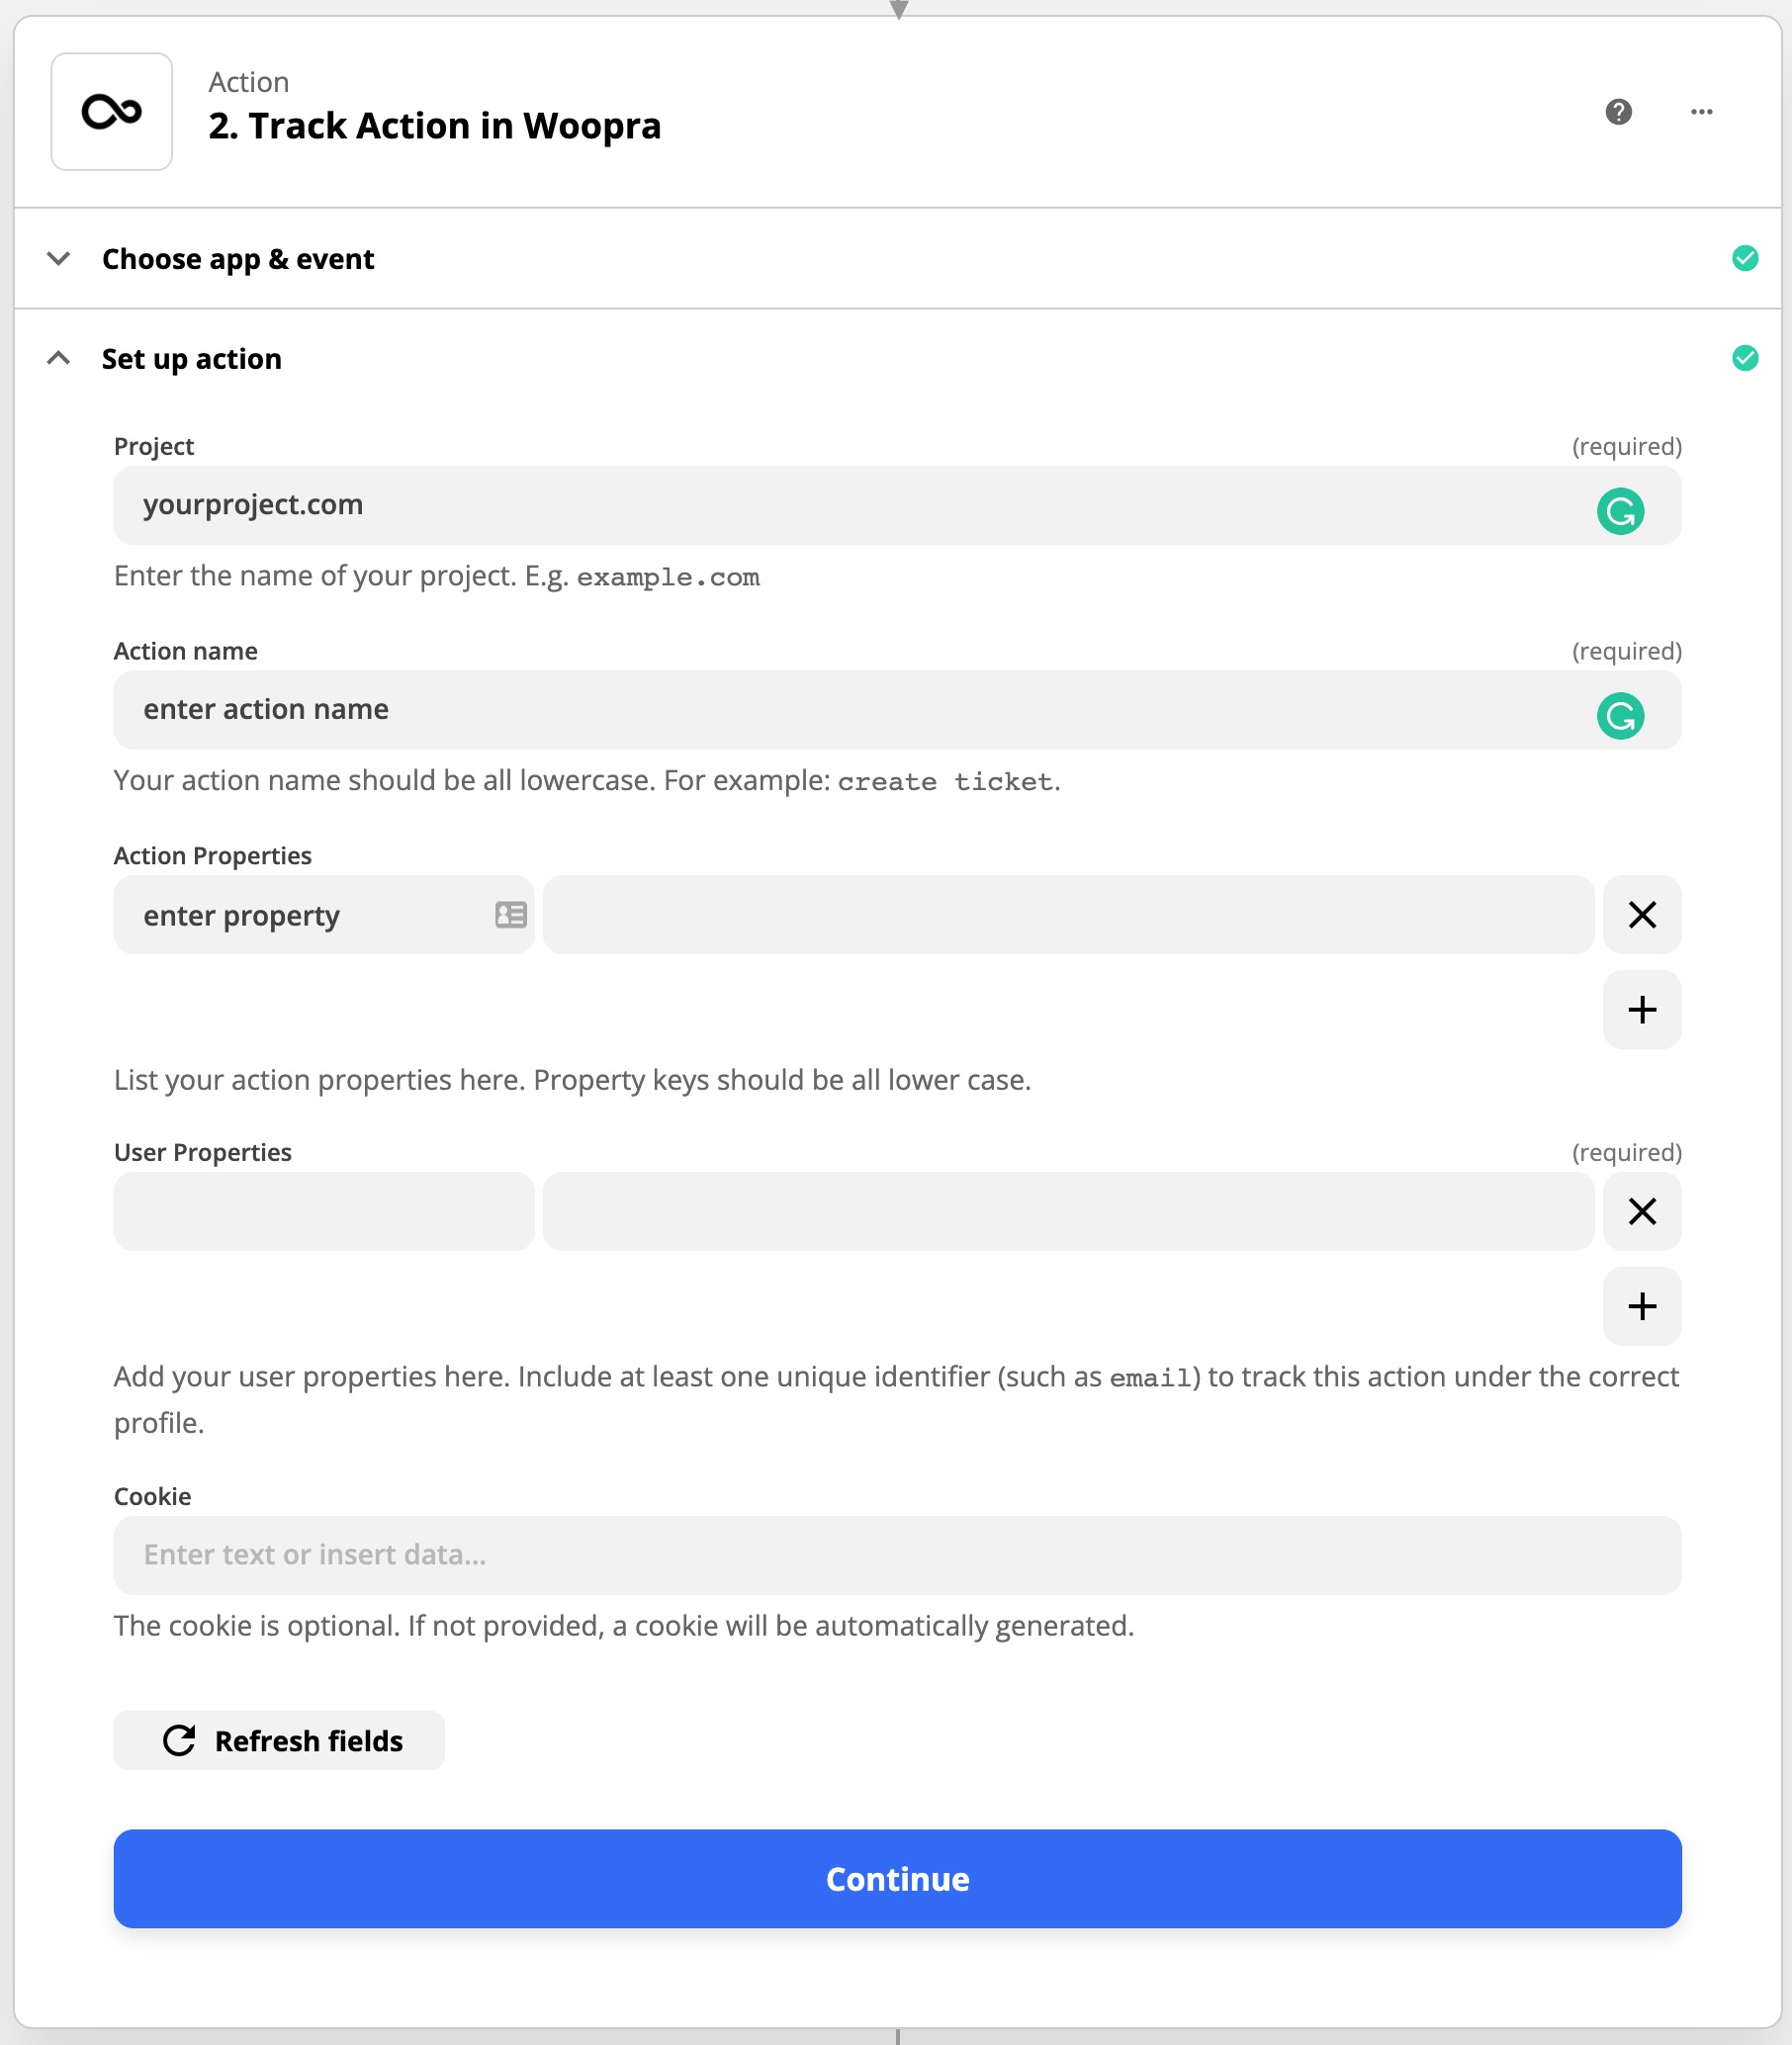
2. Setup your Zap
- Entering your project name (e.g. yoursite.com)
- Connect any data from your trigger to the Woopra fields (e.g. email, custom event, etc.)
- Test. Send some test events and check them in Woopra to make sure the events to being sent correctly.
- Save and activate your Zap.

Updated 3 months ago
