Scheduled Batches
Overview
Scheduled Batches allow you to create automations based on your custom Segments, leveraging Woopra’s automated target events.
Scheduled Batches are similar to our Triggers. However, instead of triggering the automation based on an event the user performs, Scheduled Batches will run an automation for a list of users based on a set time interval.
The target events for the Scheduled Batches will depend on which third-party applications you're using that we support in our integrations.

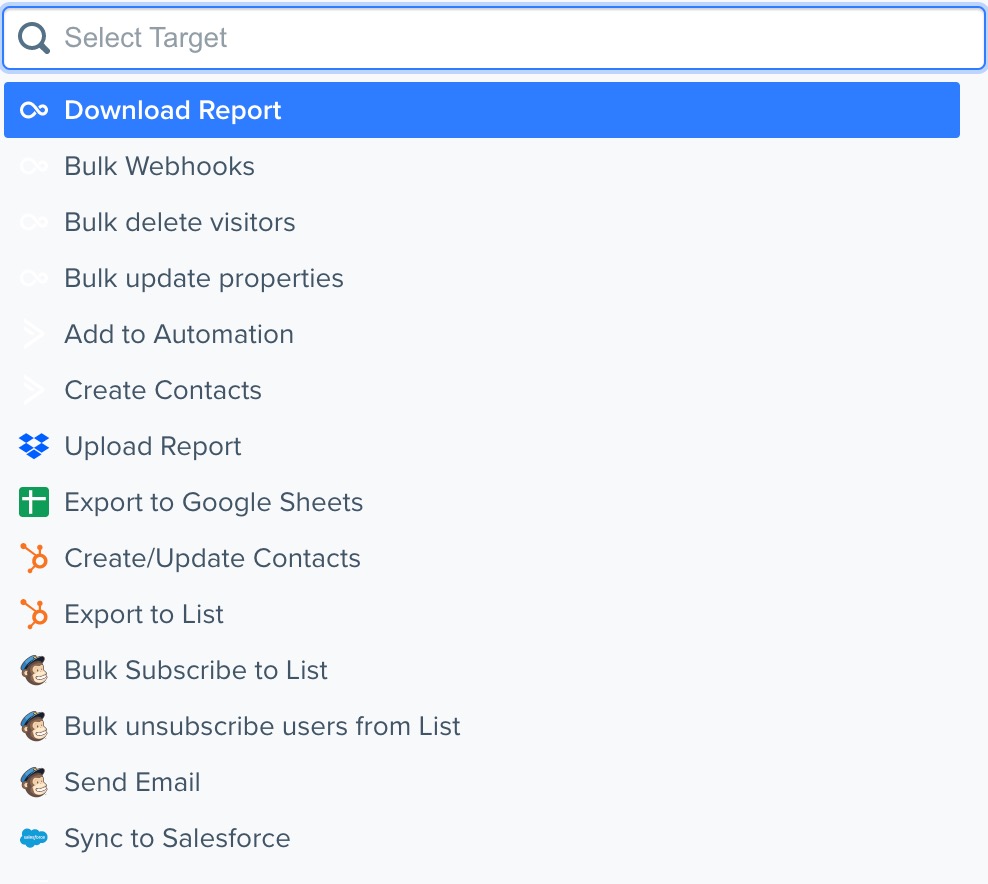
Here are the following target events that you can use, which will be based on a selected Profile Report:
- Bulk Webhooks - Send several webhooks at once for each of the profiles.
- Bulk Delete Users - Delete a list of profiles.
- Bulk Update (User) Properties - add or update User Properties.
- Integration Events – Specific trigger events may be available depending on the integration you've connected (from our list of supported integrations). For example, if you connected HubSpot, you may see HubSpot target events such as 'Create/Update Contacts' or 'Export to List'.
- Dropbox/Box/Google Drive – Send lists of users from your Profile Reports to your Dropbox/Box/Google Drive.
How to Create a Scheduled Batch
1. Create aProfile report and define the Segment of users.
Keep in mind the time interval in which you want the automation to run. Do you want the automation to run every day/week/month? The Segment you create in the Profile report might only look at signups for the past week. In this case, you'll want to set the time interval for the Scheduled Batch to run weekly.
2. Navigate to Scheduled Batches under our Automation section and create a new Scheduled Batch.
Here you'll select the Profile report you made, the frequency for the Scheduled Batch to run (hourly, daily, weekly or monthly), and the limit for the number of users in the Report.
3. Select the target event(s) that you want to run for the selected Profile report.
You can select and configure multiple target events.
4. Save and activate the Scheduled Batch.
Make sure the toggle switch is on and hit save to activate.
Updated 3 months ago
