Triggers
Overview
Triggers allow you to define a Segment and trigger an automatic event when certain criteria are met.
Woopra supports multiple types of Triggers:
| Trigger Type | Description |
|---|---|
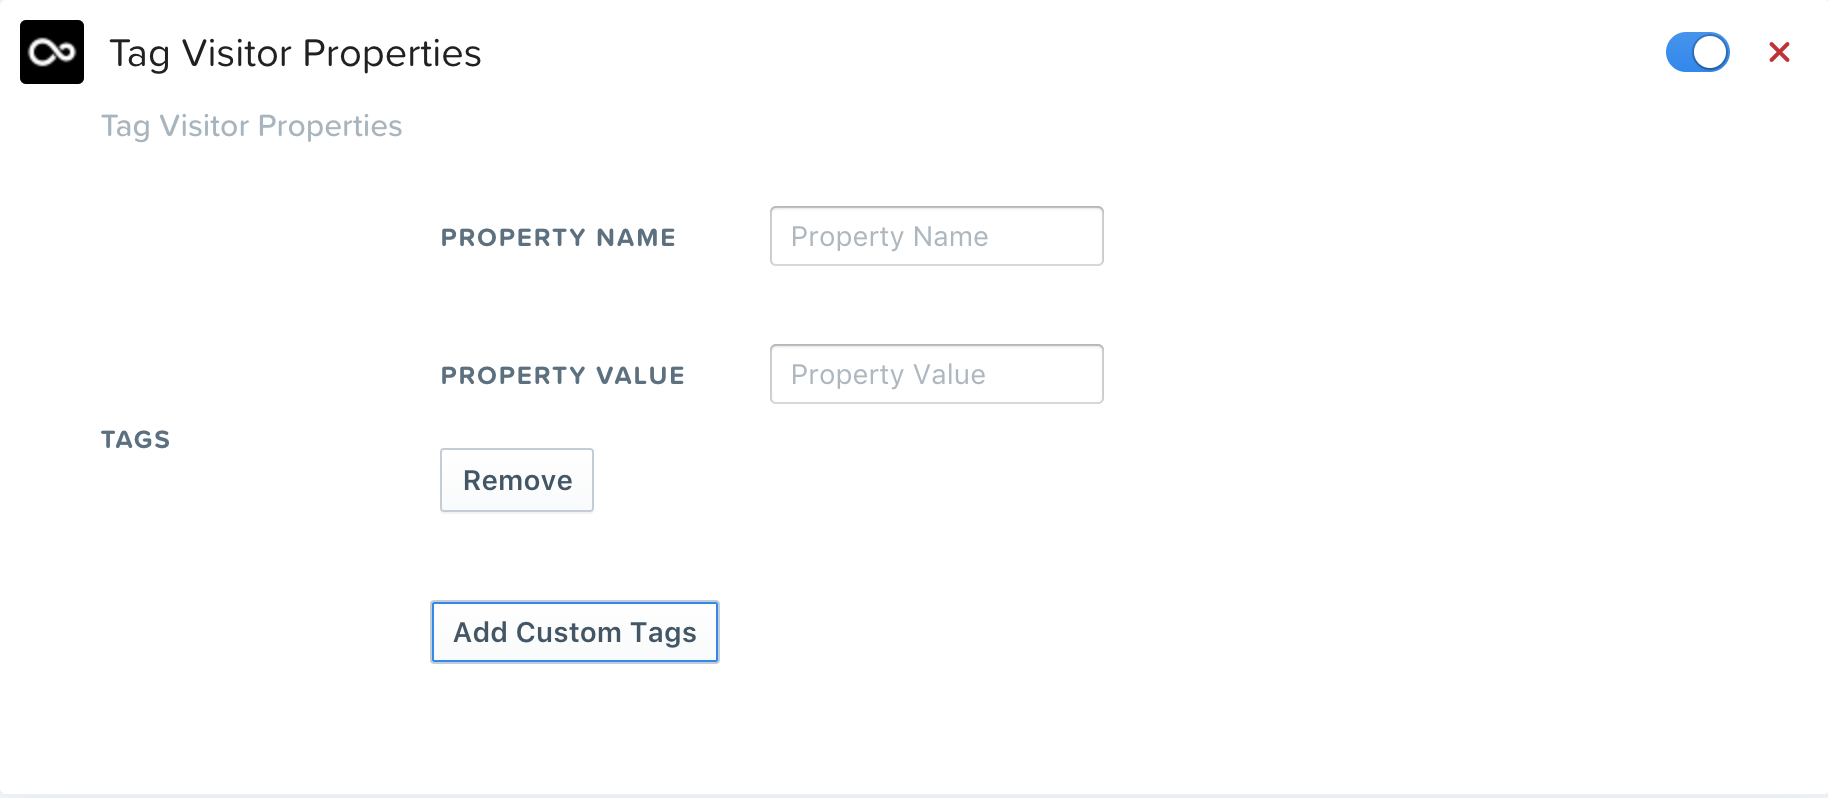
| Tag User Properties | Add or update user properties whenever a user performs a specified event. For example, whenever someone visits your site or app, you can copy certain properties, such as IP address from the visit properties to the user properties. Remember to add User Schema for the property to leverage this feature. |
| Inject Script | This allows you to run a custom script in your user browser whenever they perform a specified event. For example, you can show a special discount message to your users who have purchased items from your site previously, or encourage a returning user to join a newsletter. Possibilities are endless, use this feature wisely! |
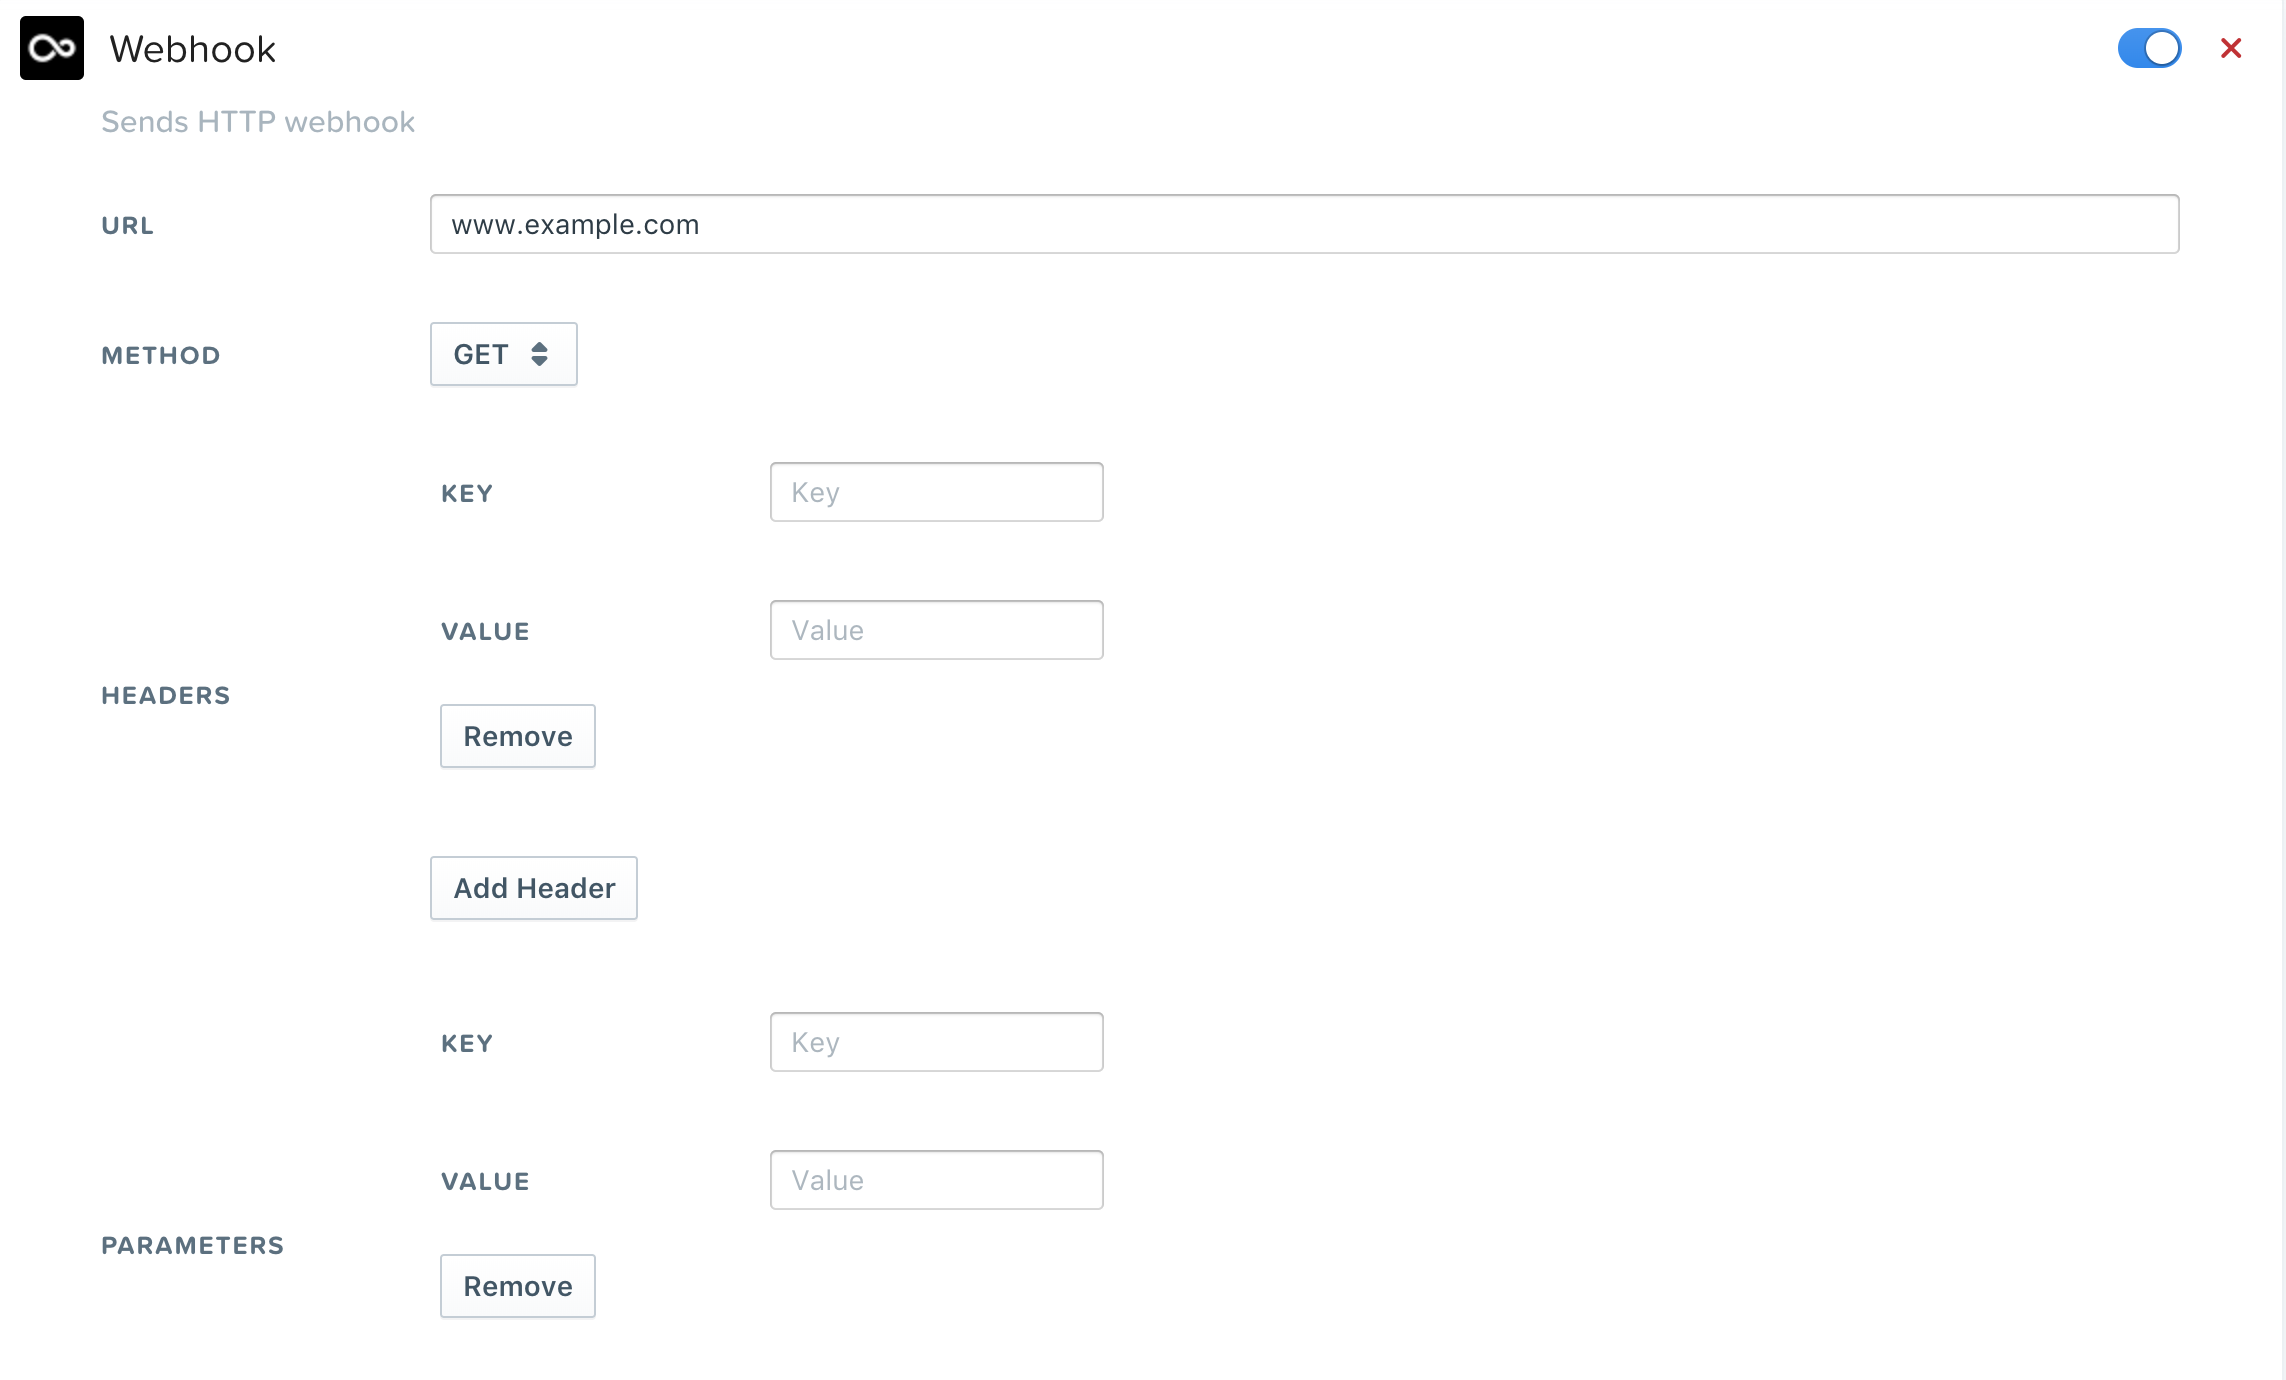
| Webhooks | Woopra can send HTTP requests to different tools whenever a user triggers an event. |
| Email Notifications | You can receive notifications on noteworthy user activity directly to the email address associated with your account. |
| Push Notifications | You will see these notifications of user activity at the top of the Woopra web app. |
| Integrations Events | You can use any trigger s automatically installed by your Integrations Apps. These triggers perform many different functions, based on the App’s functionality. |
Woopra limits the number of triggers to 50. Please contact support if you require more than 50 different triggers.
How To Create a Trigger
Step 1: Define Your Segment & Trigger Filters
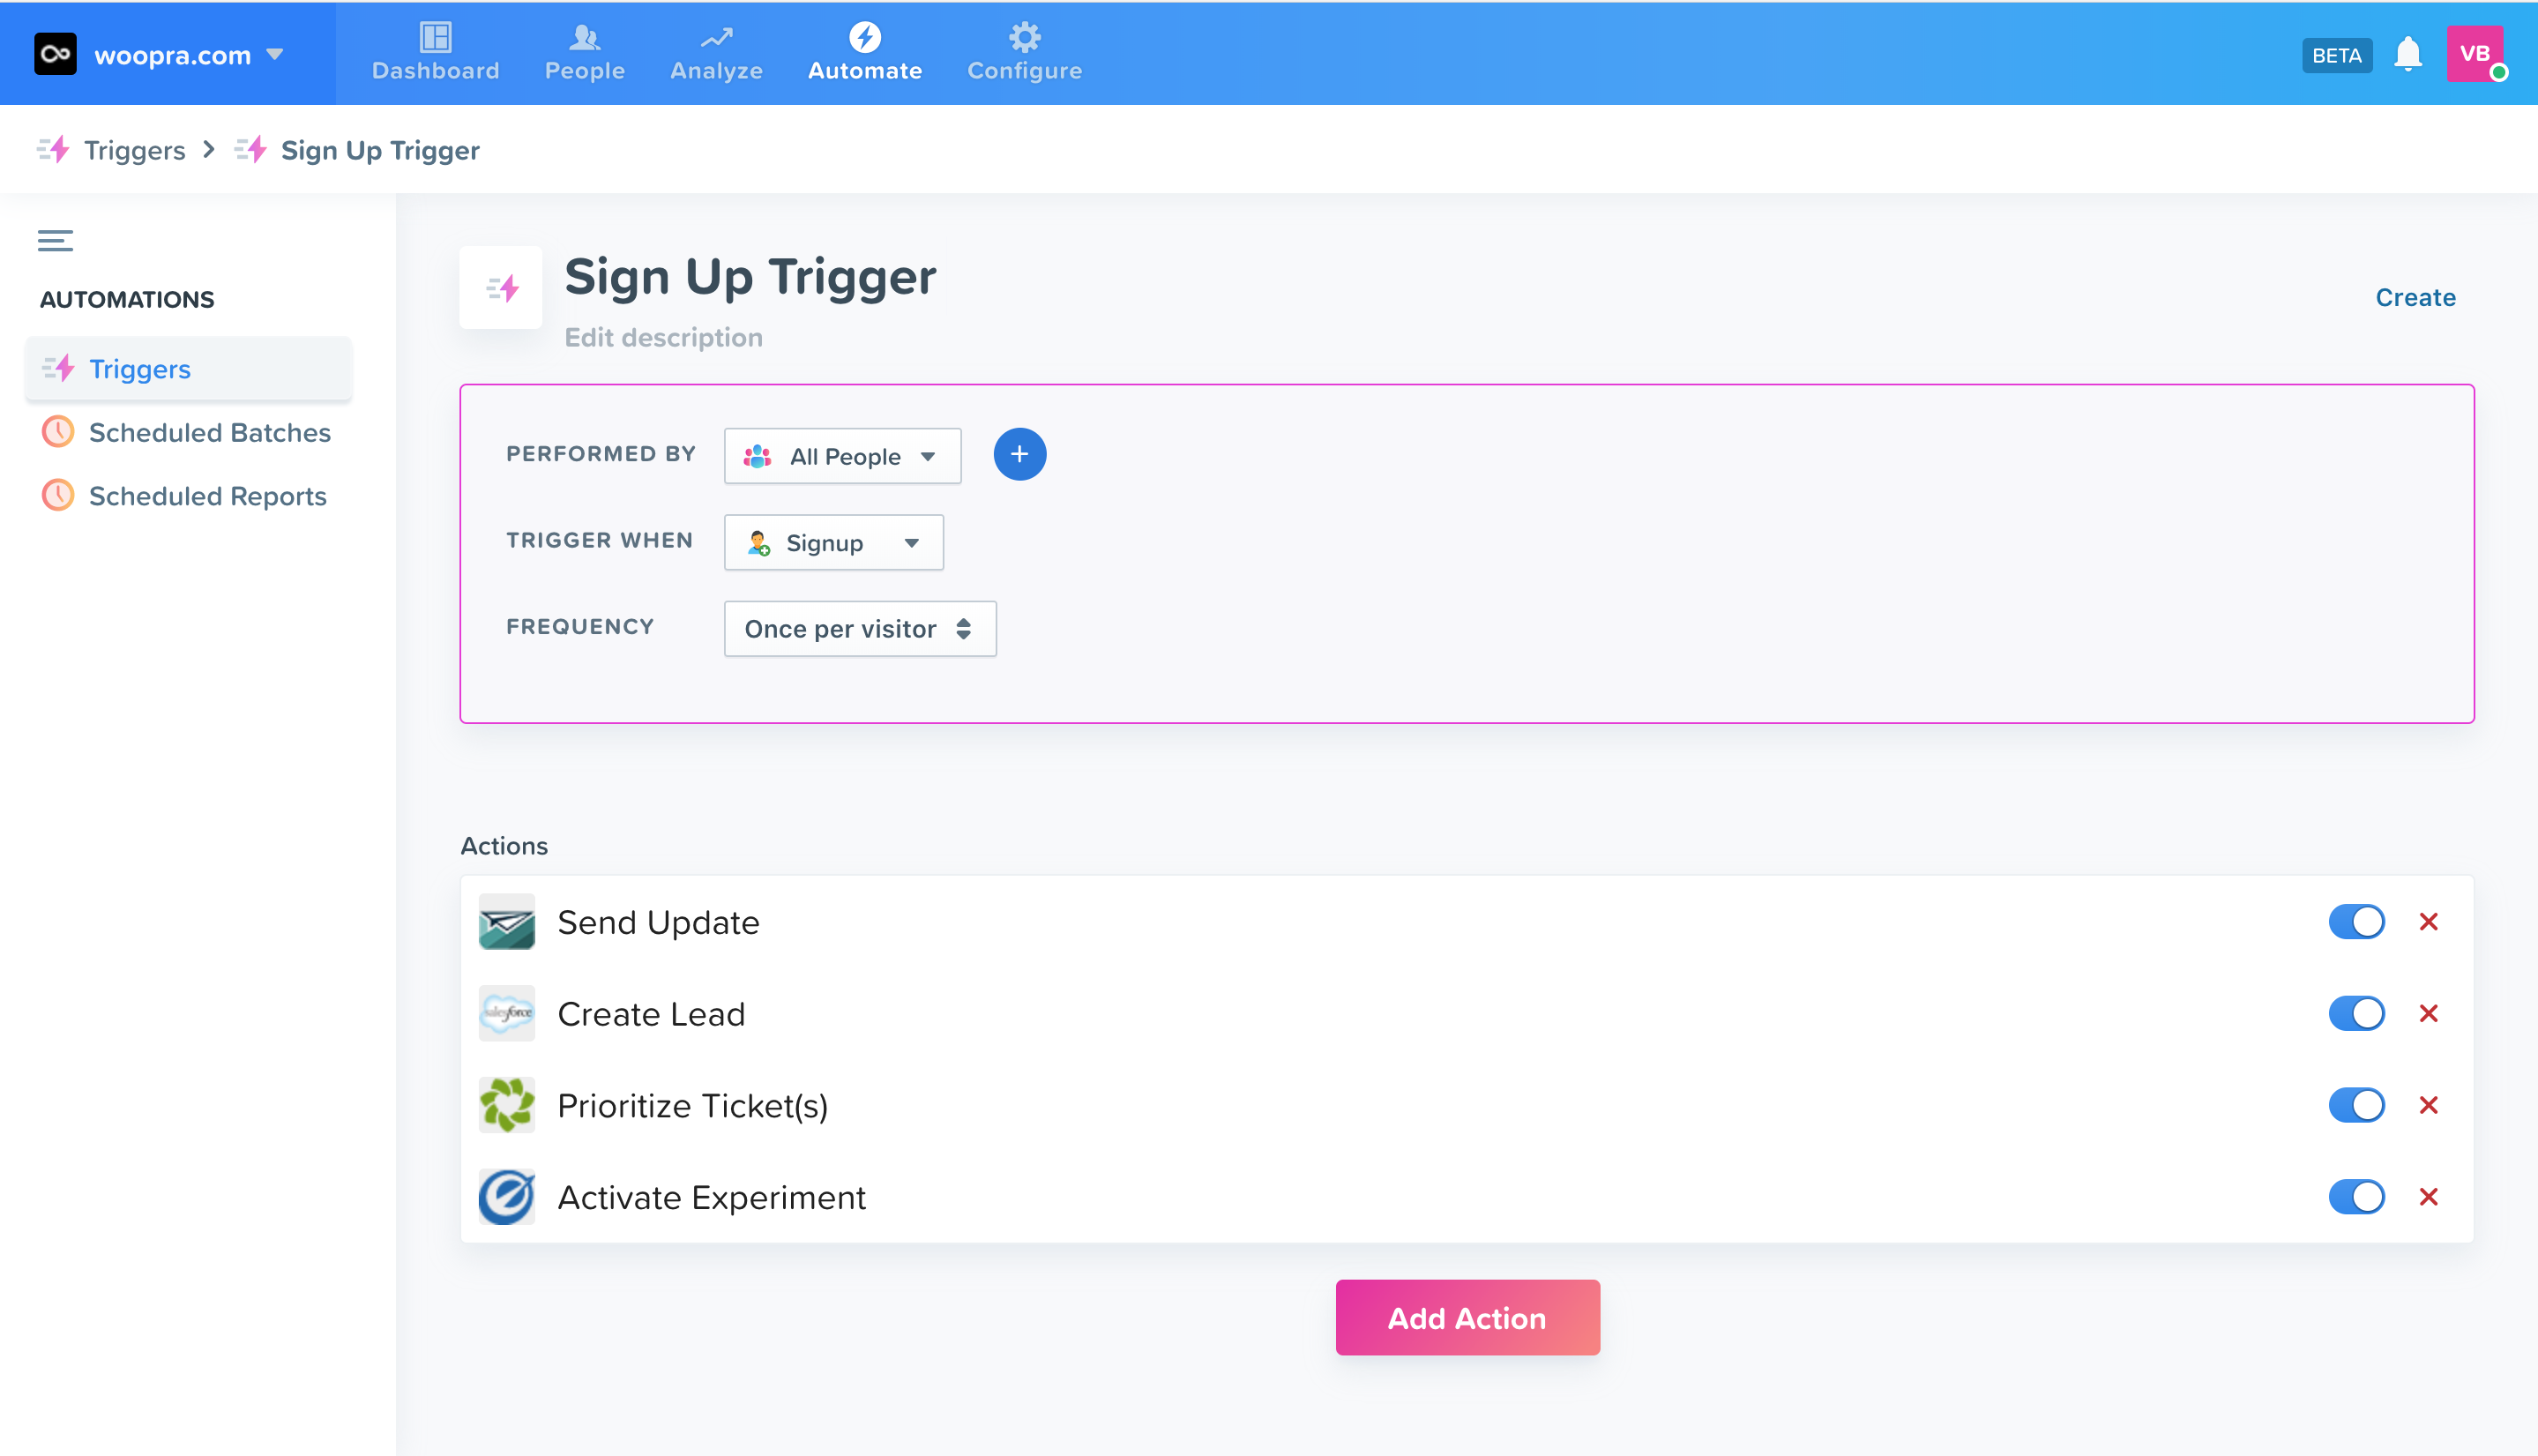
The first step to creating a Trigger is to define the segment you would like to run the Trigger on and the event you would like to trigger it on.
- Go to the “Automate” section in your Navigation tab.
- Click the “Triggers” button in the sidebar.
- Click the “New Trigger” button in the top right corner to create a new Trigger..
- Start by entering a name for this Trigger and edit the description if needed
- Define the Segment you want to run this Trigger on using the drop-down. If you want to run this Trigger on all users who trigger the event, simply leave the dropdown as “All People.” Click the “+” button if you want to use our segmentation filters and build segments on the fly. For more information on how to use the segmentation filters, please see our document on defining segments.
- Define the trigger event using the built-in filters.
- Select whether you want Woopra to fire the Trigger once per visit, once per user or always.
Step 2: Choose and Set Up Configuration
The second step to creating a Trigger is to configure the Trigger event. You can choose from any of the options listed above in the Overview.
Option 1: Tag User Properties
If you want to add user properties to the user who’s triggered the event, you can set the properties as a key/value.

Option 2: Run Script Configuration
You can run a script on your user browser as soon as the tracking action is triggered. Woopra is optimized to run Triggers within less than 200 milliseconds from the action trigger time which makes Triggers extremely responsive and smart.

Option 3: Webhook Configuration
Webhooks let you register a URL that we will POST anytime an action happens on your website or app. For example, when a user signs up to your website, Woopra can be configured to send an HTTP POST request to your servers (or other 3rd party endpoints).
To configure your webhook, you must provide a URL endpoint and the optional POST parameters. Just like other Trigger types, your fields can be dynamic containing the triggering action, visit, or user data.
The example below shows an example of how you can POST a request to your website whenever a user signs up from a company with over 300 employees:

Option 4: Email Notification Configuration
You may receive notifications via email to the email address associated with your account.

- Subject - Customize a subject line for your triggered email. You can leverage our tags that are available in the drop-down menu to make your subject line more relevant.
- Message - Define the body of an email notification. As with the subject line, you can insert tags from the drop-down menu on the right in order to have more contextual information in your email.
Option 5: Push Notification Configuration
You can receive push notifications in two ways:
- You can see them in the upper right hand corner of the Woopra’s web app.
- You can also get them on your mobile phone if you have downloaded our iOS or Android app.

| Push Notification Option | Description |
|---|---|
| Play Sound | Select the sound you would like to play in the web app whenever you receive a push notification. |
| Message | In this section you can format how your notification would read. Insert tags from the drop-down menu on the right to provide more contextual information about the notification. For example, it’s possible to set up a notification that reads: “John Smith from Health Corp has signed up”. In this case “John Smith” is being generated using the tag “User Name” and “Health Corp” is being generated using the tag “Company”. Note that both “User Name” and “Company” are pieces of custom user data that you must send to Woopra. However, tags such as “Device Type” and “Country” do not require any custom user data. |
- To receive a notification to your Woopra web app and to your mobile phone (if you have downloaded the Woopra iOS app or Android app), check the box next to “Push Notification”
- Select a sound from the “Play Sound” drop-down menu, such as “Xylophone # 1”
- Select a thumbnail from the “Thumbnail” drop-down menu, such as “Country Flag”
- Define the content to be displayed in the notification. Here we will write: “User Name from Company has cancelled their account.”
“User Name” and “Company” are both tags that were selected from the tag drop-down menu at the right. Note that both “User Name” and “Company” are pieces of custom user data that you must send to Woopra.
Option 6: Integrations Actions

The Integrations apps that you’ve installed would instantly add trigger actions associated with these apps. Most Apps have their own triggers that you can apply. For example, the Zendesk App allows you to change the ticket priority. The HipChat app allows you to post messages to specific rooms when a given action occurs. Customer.io allows you to add users to relevant mailing lists based directly on their behavior, and so on.
After you’re done setting up you trigger, click on the “Create” button in the top right corner. Your triggers will begin firing when the trigger action is performed.
Updated 3 months ago
