Scheduled Reports
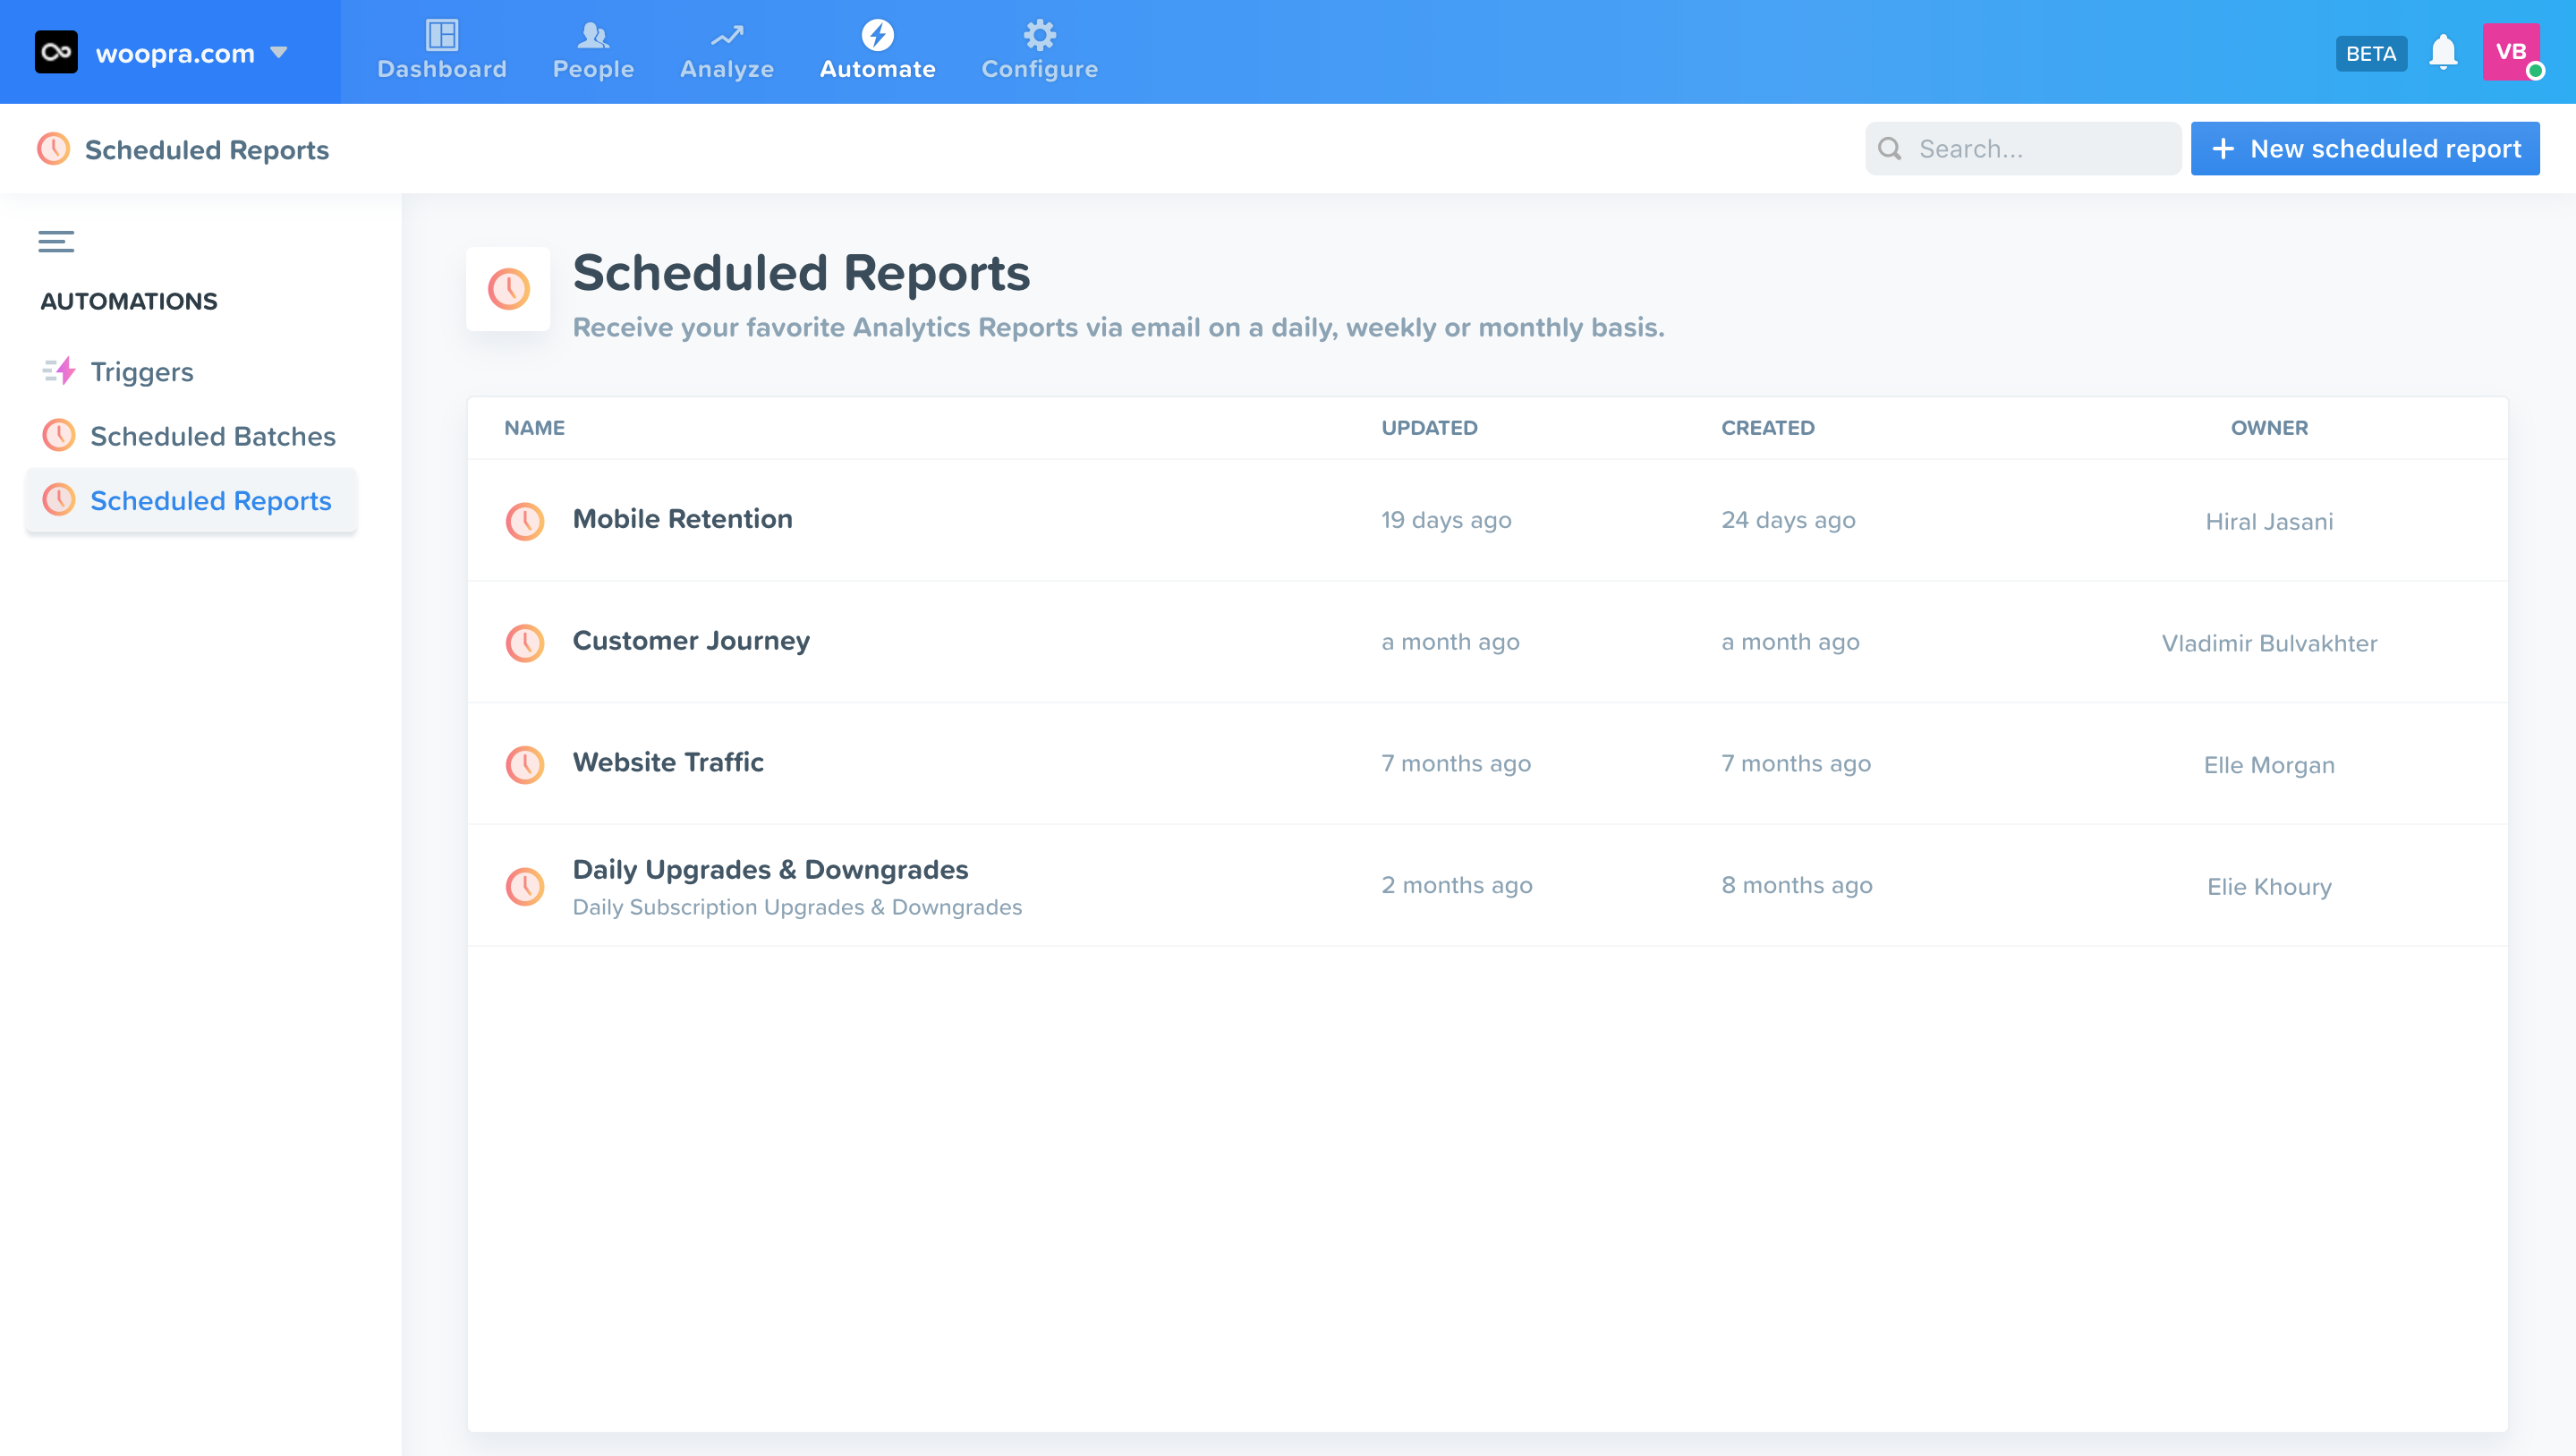
Scheduled Reports allow you to select specific analytics reports in Woopra that will be delivered to you at regular intervals, either via email or the file-sharing service that you’re using.
Creating a New Scheduled Report
- Go to the Automate Section in the Navigation Bar.
- Click on the “Scheduled Reports” button in the sidebar and select the “New Scheduled Report” in the top right corner.

Setting up Your Scheduled Report

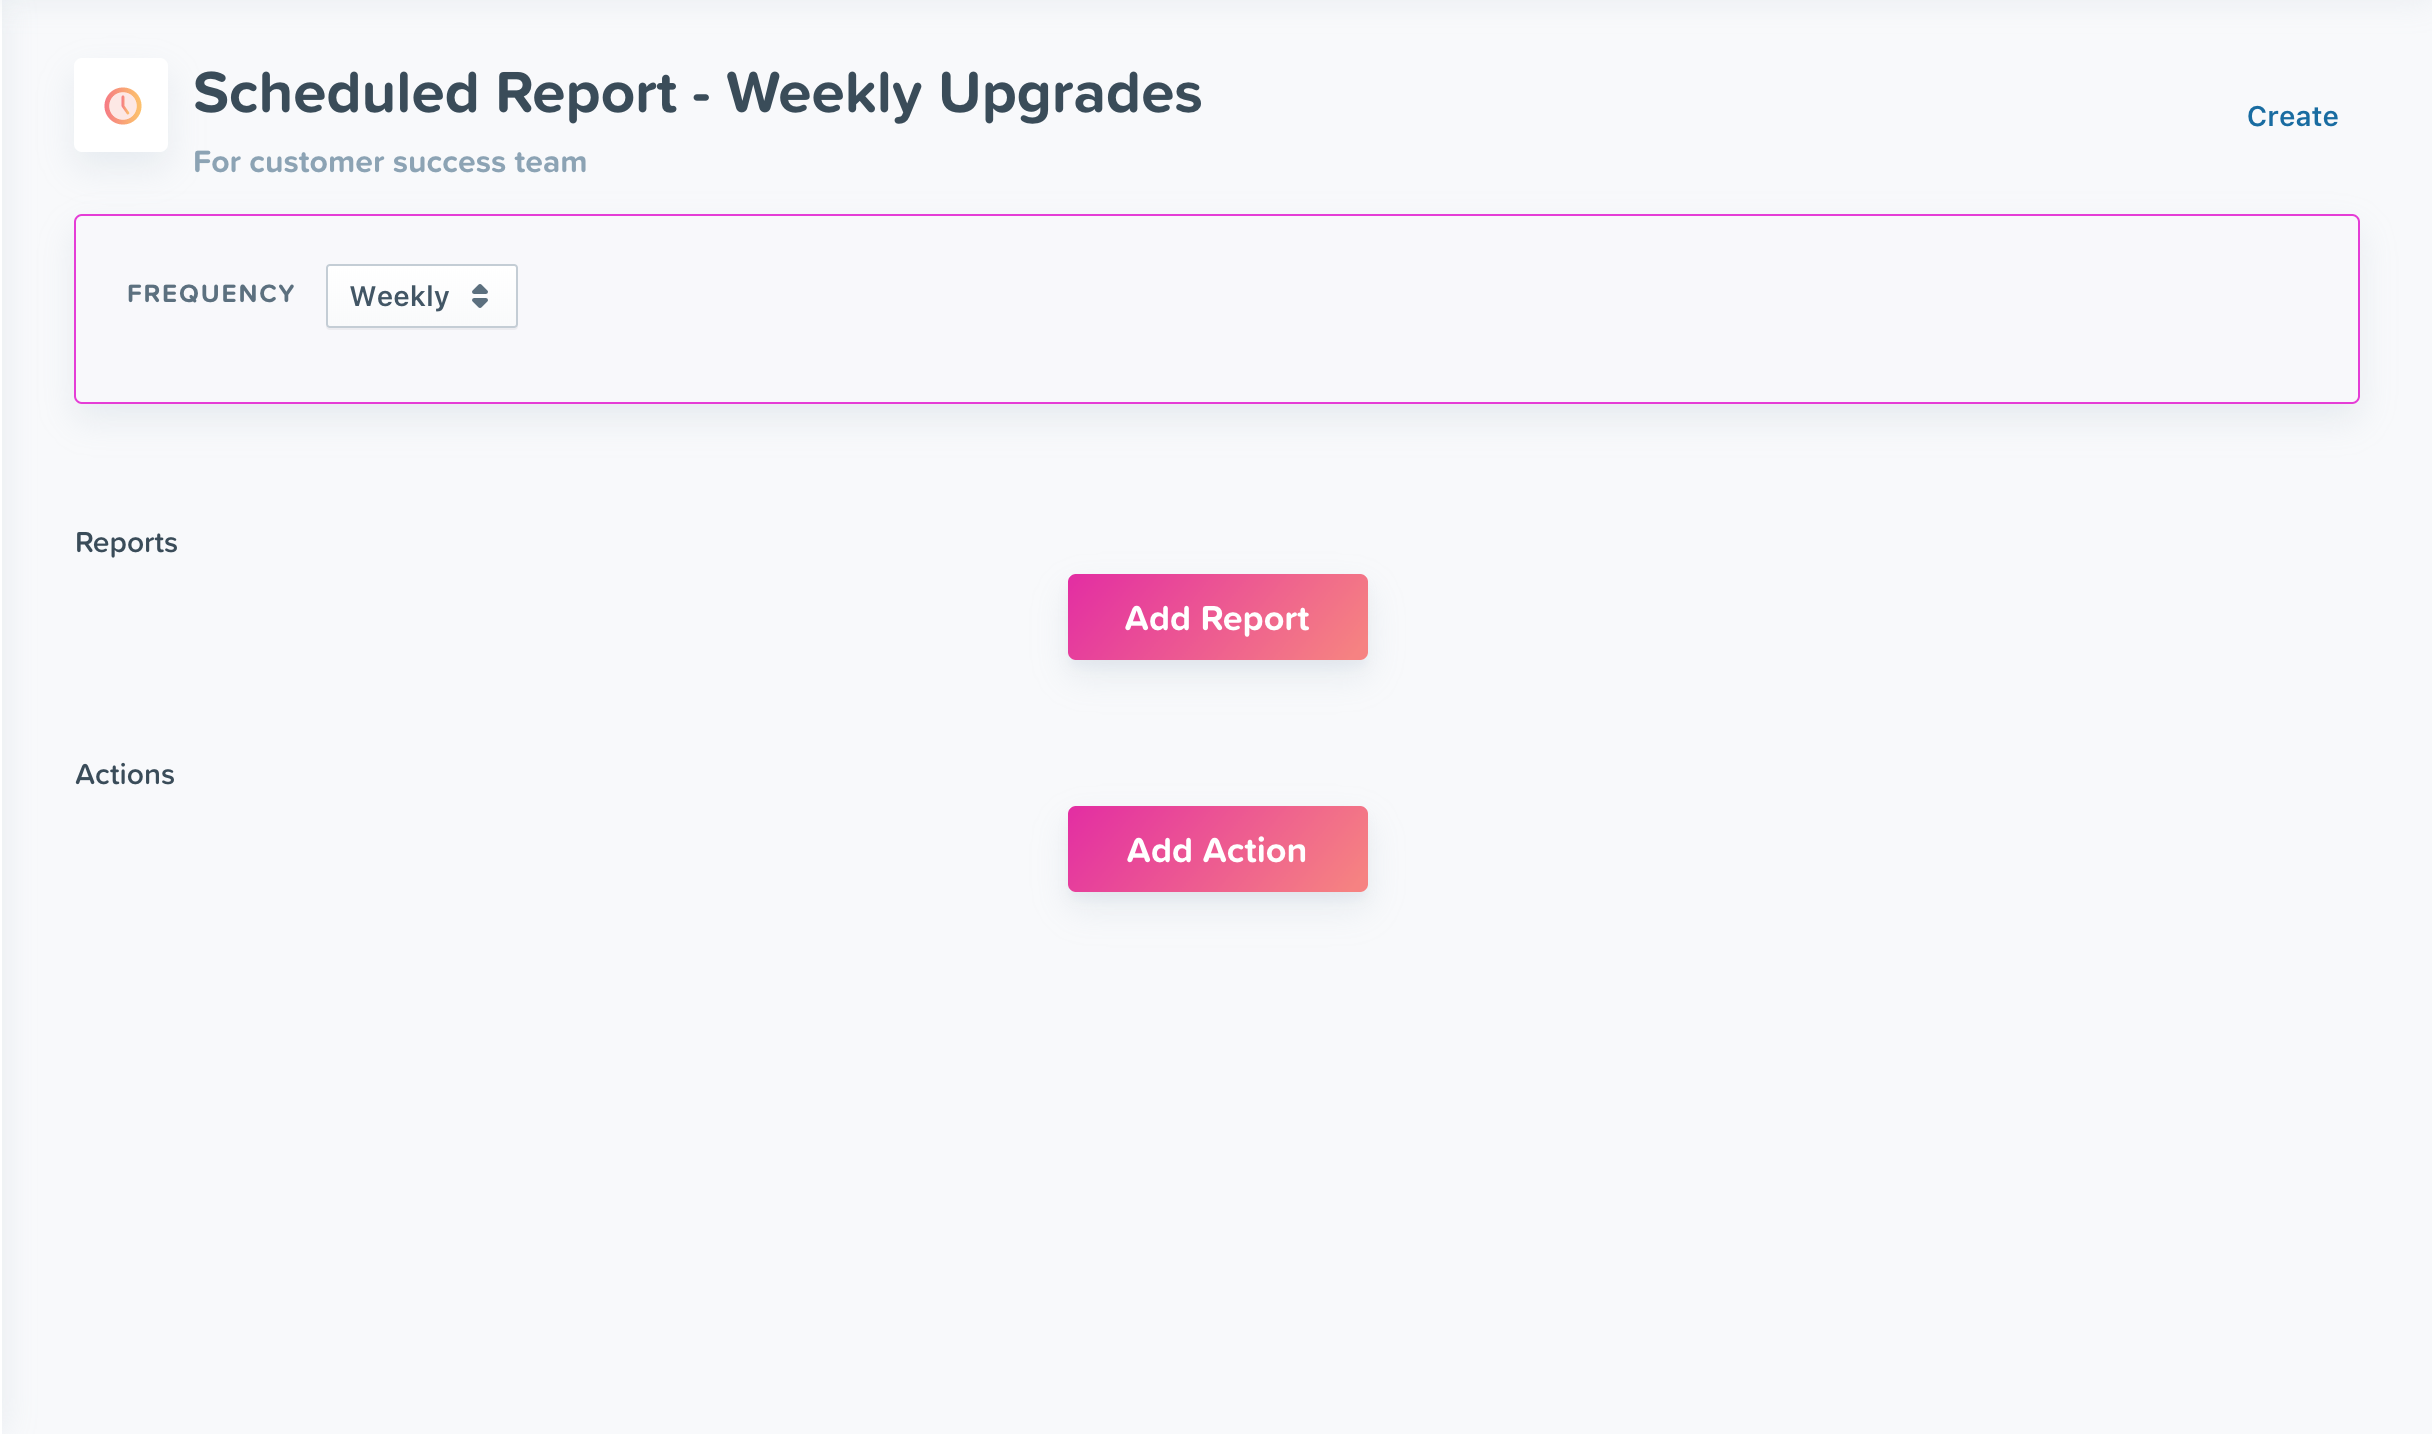
- Name your Scheduled Report.
- Write a description for the Scheduled Report to keep your team on the same page.
- Select the schedule for your reports. You can schedule your reports to be delivered on a daily, weekly, or monthly basis.
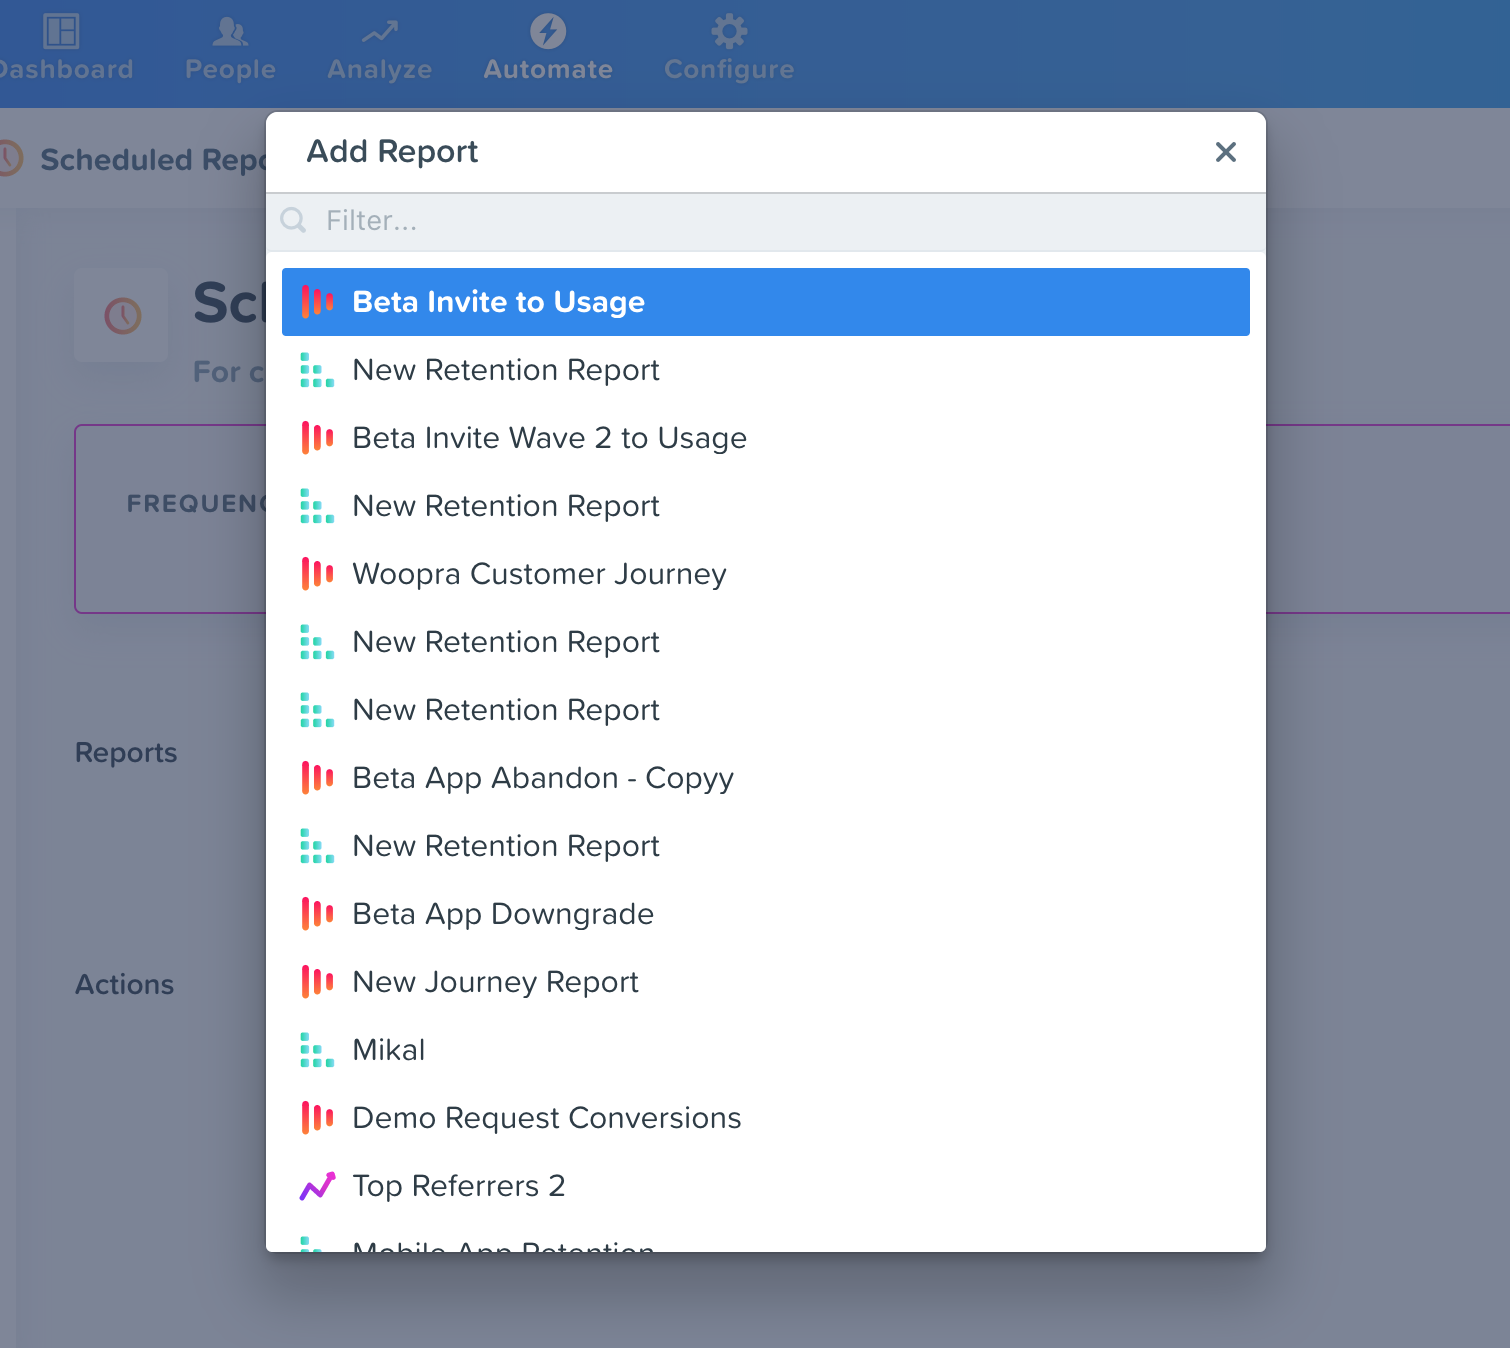
- Click on the “Add Report” button to select the Journey, Retention or Trends report you wish to include. You can select as many reports as you want.

- Click on the “Add Action” button to select how your reports are going to be delivered. You can select Email or Integrations Apps as the destination for the Scheduled Reports.
Delivering Reports
Email
The email action is available for every account out of the box. Enter an email or the list of emails you want your reports to be sent to and select the format for a report. Please note that reports can be delivered as either PDF, HTML or CSV.

Integrations Actions
Some Integrations Apps you install will give you new export capabilities. Those Apps include Box, Dropbox and Google Drive. Use those actions to feed your cloud services with your daily, weekly or monthly snapshots of Woopra reports.
Updated 3 months ago
